The punching bag takes a solid hit, your training partner nods, and yet you know it yourself: that kick relied more on willpower than technique. On the next repetition, you search for your balance, have to judge the distance again, and the same movement suddenly feels completely different. Sound familiar? Then simply trying harder is not always the most useful place to start.
In a roundhouse kick, distance, contact point, hip rotation and standing foot all work together. You can focus on practising one element, but you cannot perform them entirely in isolation. Good hip rotation is of little use if you are poorly positioned in relation to the target. And a kick that lands solidly is not necessarily a useful kick if you cannot keep moving afterwards.
These three tips are therefore about building a better kick, not a guaranteed increase in power. We look at the roundhouse kick in kickboxing and Muay Thai: first your distance and contact point, then your hips, and finally the movement of your standing foot. With practical points to focus on for bag training and pad training.
The roundhouse kick is more than just swinging your leg
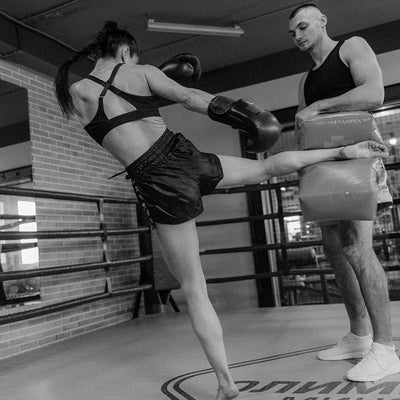
A roundhouse kick, also called a round kick, travels in an arc towards the target. How it is performed varies between styles, athletes and situations. A low kick is not the same movement as a high kick, and a kick practised from a standing start is different from an attack after a punching combination.
That makes a single golden rule appealing, but limited. 'Turn more' or 'step closer' sounds clear. Yet neither will help with every kick. You need to know which part of this repetition needs attention, rather than trying to add a little extra to everything at once.
Start with a familiar variation and a clear target. On the punching bag, you can repeat one movement. With a pad holder, agree on the kick, the side and the pace beforehand. Keep the task small enough that you can say what actually happened after each repetition.
Tip 1: match your distance to your contact point
Many roundhouse kicks in kickboxing and Muay Thai make contact with the shin. Different roundhouse kick variations use different contact points. ElasticSteel compares the shin, the instep and the ball of the foot, among others. Tailor the technical guidance to the specific variation you are practising.
The shin: in a Muay Thai roundhouse kick, the lower leg is the usual striking surface. That point of contact is closer to the knee than the foot. The distance at which you hit the target with your shin is therefore not necessarily the same as for an instep kick.
The instep: this is the top of the foot. Many karate and taekwondo techniques use this striking surface. The foot, not the lower leg, makes contact with the target. A kick performed this way intentionally isn’t wrong just because another style uses the shin.
The ball of the foot: this striking surface is also used for round kicks. It requires a different foot position from instep contact, with the toes kept out of the line of contact. It’s a separate technique, not a trick to add in the middle of a hard round on the pads.
The practical lesson from that comparison isn’t that one striking surface always wins. The striking surface, distance, and technique need to work together. If you want to practice a kick with your shin, assess that technique. Don’t try to get the reach of an instep kick while expecting the same part of your leg to hit the target.
Getting a feel for distance on the bag and with your pad holder
Don’t try to fix contact with the wrong part of your leg simply by kicking harder. If you land with a different part of your leg than you intended, check your distance, direction, and position relative to the target. You can’t stand too far from the punching bag and still expect your lower leg to land where you want it.
Choose a distance that gives your leg room to follow the intended path. If you get too close to the target, restore that working distance first. That way, you can keep practicing the technique with focus and control.
Take a few repetitions to get a feel for that distance. Get into your stance, perform a familiar kick with control, and return to your stance. Then reset your position. When the punching bag moves, the situation changes too. It’s better to wait until you have a clear setup again than to try to chase every swing of the bag.
When training with a partner, agree on the target and the distance between you. If the pad holder keeps moving closer or shifts the pad at the last moment, you’re no longer practicing the same movement. That can become an intentional part of training later, but it’s not a good place to start when you want to assess your contact.
Tip 2: bring your hips into the movement
A roundhouse kick doesn't come only from the leg that rises. Your body's rotation is part of the technique. When your leg moves toward the target while the rest of your stance barely follows, the kick can feel as though you're trying to throw it separately from your body.
ElasticSteel makes a useful distinction between a snappier kick driven from the knee and a Muay Thai version in which hip rotation plays a prominent role. These are different emphases in different techniques, not a reason to make every roundhouse feel the same. An instep kick that snaps back quickly and a shin kick that swings through aren't simply the same movement with a different point of contact.
Aim for a coordinated movement, not the biggest possible rotation. Your hips need to match the direction and height of the kick you've chosen. Rotating further is not, by itself, proof that you're kicking better. Look at where you finish and whether you can continue from there.
The cue 'turn your hips into it' often becomes useful only when you apply it to a single repetition. Which way is your body going? Where is the target? At the moment of contact, are you still in a position that fits this drill? And how do you recover?
Start with individual kicks before putting together a long combination. A punching combination can change your distance, rhythm and stance. That's exactly why combinations are interesting, but also why they make it harder to focus on one element.
Don't forget your upper body in the meantime. Your arms and guard are part of the technique you're practicing. Don't let them drop away unintentionally because all your attention is on your hips. A kick isn't just a leg moving while the rest of your body watches.
Tip 3: let your standing foot pivot
While one leg kicks, the other supports your stance. That makes your standing foot more than a detail. In a roundhouse kick, it pivots as part of the technique. How much and when depends on the kick, its height and how you use it.
Don't force just your hip rotation while keeping your standing foot fixed in place. Look at how the movement of your lower and upper body fits together. Does your body want to turn, but your foot seem to be doing something else? That's worth taking a calm look at.
There is no fixed pivot angle that makes every roundhouse kick right for every athlete. Memorizing a number is less useful than recognizing how your usual technique works. Practice with attention to the whole movement and choose a surface that lets you move as the drill requires.
Don't look only at a single still moment. A foot may look convincingly positioned in a photo, but the photo shows nothing of the lead-up or the return. A short video of a few repetitions can show what happens before and after contact. Use it to look at one specific point, not to bombard yourself with ten different pointers at once.
Your shoes and the surface also change the training conditions. A technique that feels familiar on a sports floor won't necessarily work as well on rough asphalt or uneven grass. Choose a location that suits the drill. You don't need to make a technical point harder by struggling with the surface as well.
Bring the three tips together in one focused drill
You can look at the three areas one by one, but ultimately they're part of the same kick. One practical approach is to do a few short technical rounds. The aim isn't to hit harder in every round, but to keep one area in focus each time.
- Distance and contact: practise individual, familiar kicks on a suitable target. Reset your stance after each repetition and check whether you're making contact as intended.
- Hips and pivot foot: repeat the same drill and pay attention to how the rotation works together. Keep the movement controlled so you notice more than just the impact.
- The whole movement: treat the kick, the contact and the return as one movement. Only add a familiar punching combination when it won't distract from your chosen focus.
Switch sides when it makes sense for your drill. One side may feel familiar while the other still feels uncertain. Don't try to force the second side to the same level with extra power. You've found something specific to work on.
Change one thing rather than everything at once. If you move closer, kick higher and pick up the pace all at the same time, it becomes hard to tell which change helped. A focused drill isn't boring: at least you can see what you're working on.
Bag training and pad training require different agreements
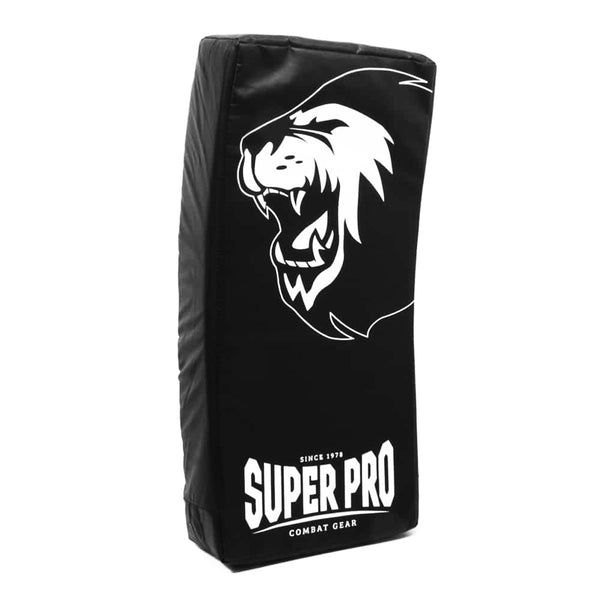
On the punching bag, you can repeat a kick without anyone holding the target for you. Pay attention to how the bag moves, though. A bag coming toward you calls for a different distance than the same bag moving away from you. A calm technical drill doesn't need to turn into a chase around the gym.
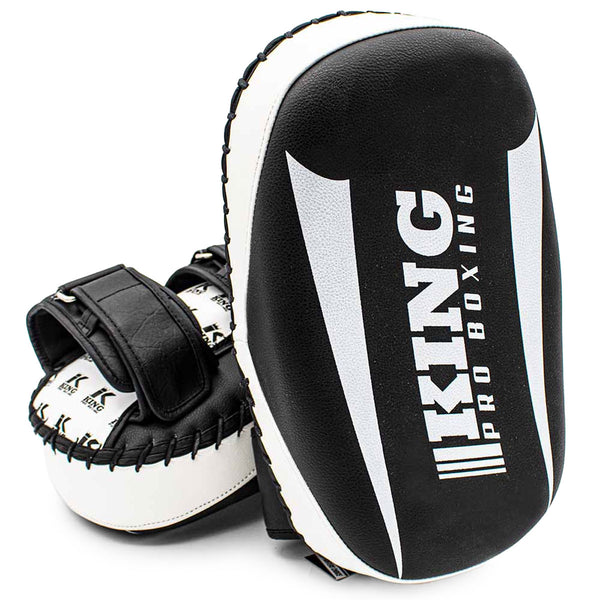
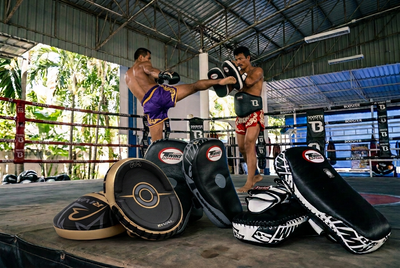
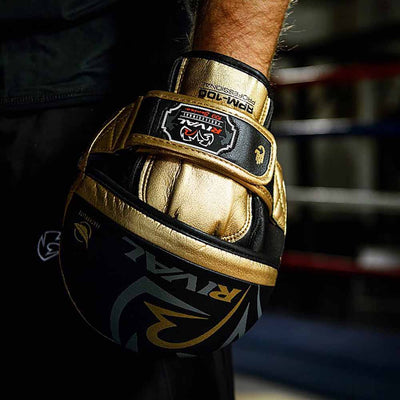
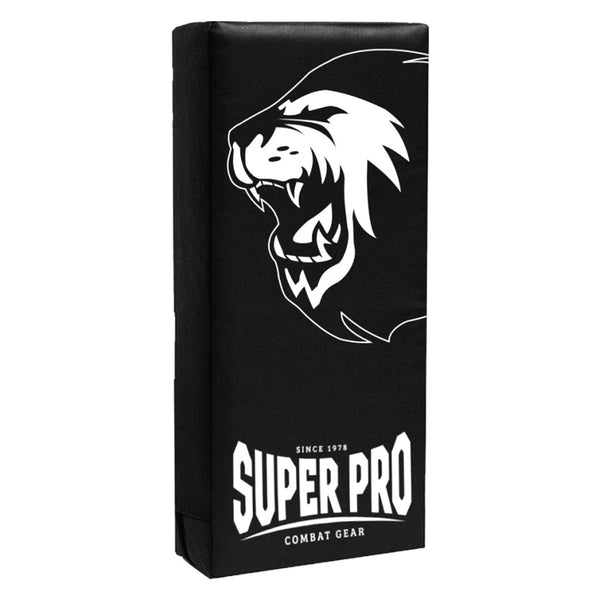
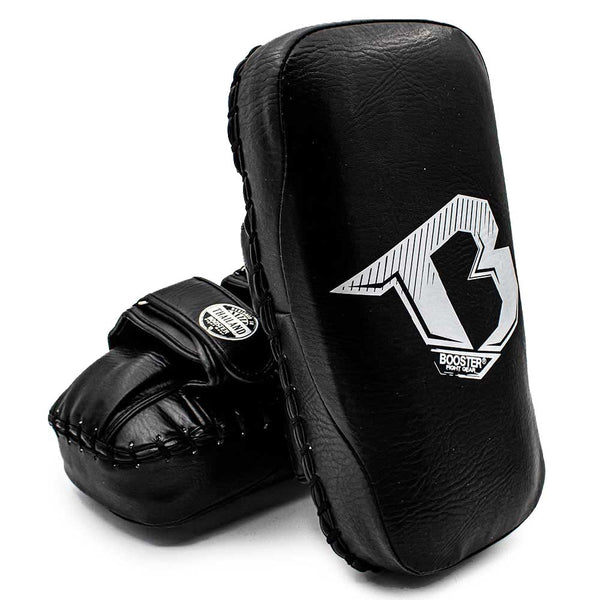
In pad training, your partner plays an active role. Use equipment explicitly designed for the kicks you've chosen, and agree on when the pad holder is ready. Say in advance which side and technique are coming, and adjust the impact to a level you can both control.
The pad holder is your partner, not proof that you can kick hard. The pace and intensity should suit the drill and what you can both manage. A round doesn't improve when the other person is mainly focused on staying on their feet.
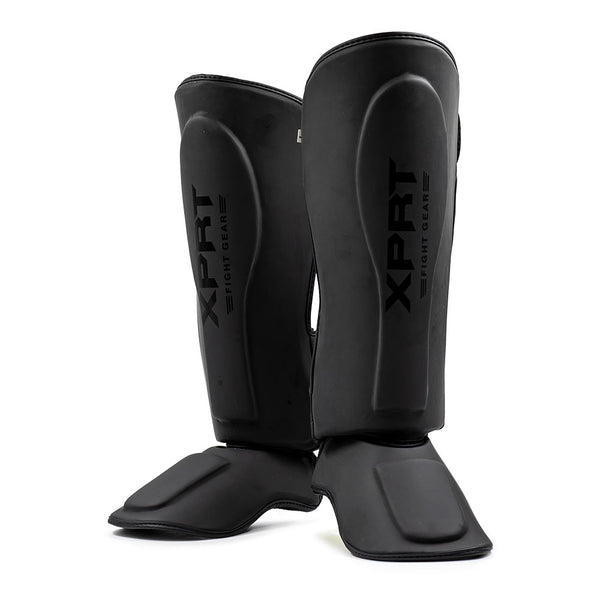
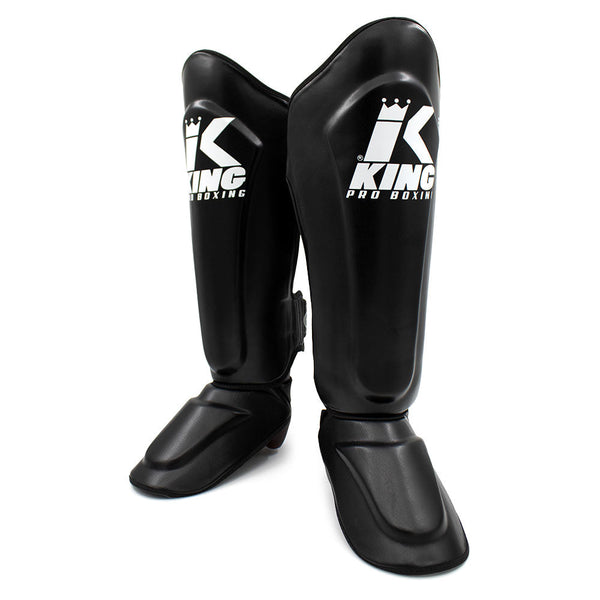
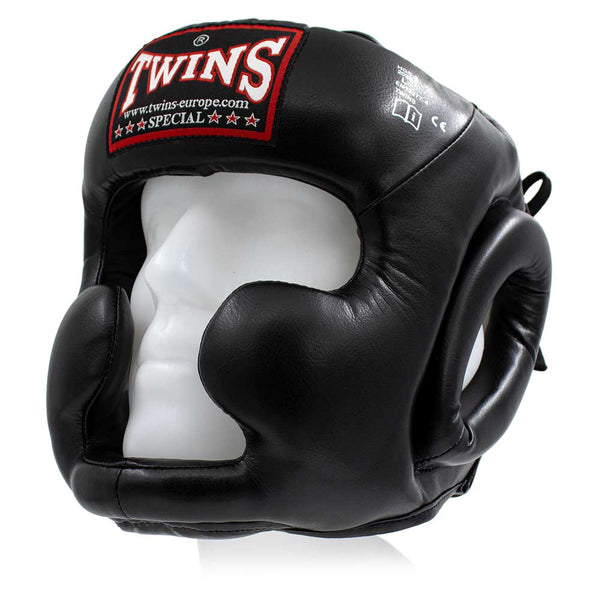
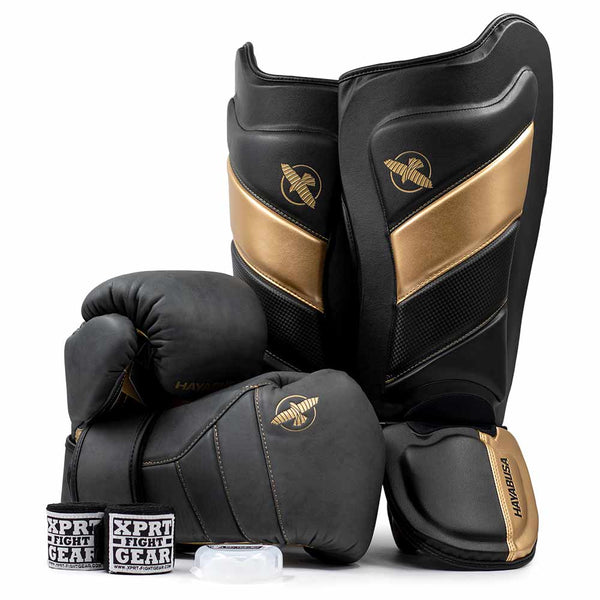
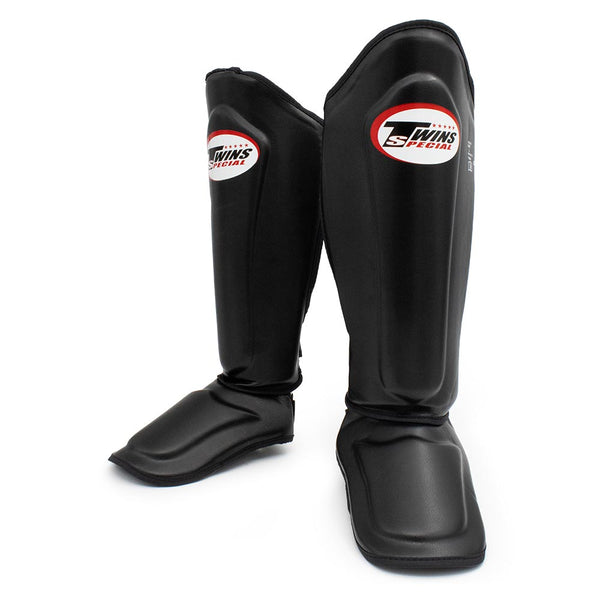
Choose protective gear to suit the type of training. The agreements you make for technical training, pad training and sparren aren't automatically interchangeable. Even with shin guards, contact with a partner is something you agree on beforehand. Gear doesn't replace that agreement.
Judge more than the impact
Wanting to kick harder is understandable. But if you focus only on the impact, you can easily miss the rest of the movement. Look at the repetitions around it too: can you perform the same kick again, make contact as intended and keep moving afterward?
A useful kick doesn't end at contact. You want to regain your stance and awareness. In a technical round on the bag, you can practice that deliberately. With a partner, you can agree on which movement or combination comes next, without making every repetition a new surprise.
Don't confuse paying attention to your shins with deliberately toughening them by striking or kicking hard objects. That's not what the first tip means. The focus is on using the right contact point within a familiar technique, not on how much pain you can take.
The best cue for your next round may be something small: resetting your distance, making the turn one fluid movement or returning to your stance more calmly. That sounds less exciting than 'go all out now'. But it gives you something you can actually practice.
Three tips, one coordinated kick
Set your distance to suit the intended contact point, bring your hips into the movement and notice how your standing foot follows through. Practice those parts separately first, then put them back together.
You don't have to prove how hard you can kick with every repetition. A kick you can perform deliberately, repeat and finish is a better focus for training than one loud thud that surprises even you. Start there. The next round is for practicing something, not outdoing the last one.