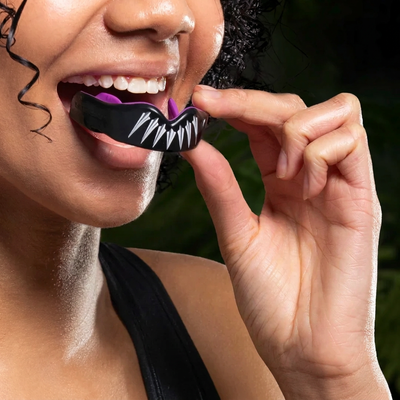
Your child wants to take up kickboxing. You'll want to know what goes in the gym bag, which sizes to choose and which combination of gear is comfortable to train in. With well-fitting gloves, shin guards and clothing, your child can start well prepared. Handwraps or inner gloves, a mouthguard and useful accessories complete the gear for the class exercises.
Below, we outline the essentials: boxing gloves, shin guards, handwraps or inner gloves, clothing and a mouthguard, plus any protection required for the type of training. You'll also learn how to compare children's sets, what different price ranges offer, why clothing size 128 is not a kickboxing size, and how to avoid buying the same gear twice.
The first class: what should you bring?
For the first class, set out comfortable training clothes, a filled water bottle and a towel. Check beforehand what protection the class requires and what you need to bring. Have your child squat, raise a knee and make a kicking motion in their shorts and shirt: being able to move freely makes for a comfortable start.
If loaner gear is available for the trial class, check its condition and fit, and how it is cleaned and dried. A glove with a damaged closure or a shin guard that keeps slipping down is not suitable just because it is only being used for a trial class. A mouthguard is for personal use and should not be shared.
Having their own gear is helpful: your child gets used to the fit, and you know how everything is cared for. A children's set is a convenient way to choose several items together. A gym bag keeps the gear together; an extra shirt or towel is practical for an intensive class.
The essential gear: what is each item for?
Boxing gloves and shin guards are essential for classes that involve protected punches and kicks. Wear suitable handwraps or inner gloves underneath. Sports shorts and a shirt let your child move comfortably. For contact drills, a well-fitting mouthguard is also part of the preparation.
Choose a cup or other additional protection based on the exercises and the equipment requirements for class. Headgear may be required for specific training sessions or competitions. Check the applicable equipment requirements and contact rules; competition gear should match the relevant division.
Distinguish between protection for class and practical extras for the gym bag. Choose gloves, leg protection and a mouthguard based on their function and fit. A water bottle, towel and bag make it easier to bring and use the gear. Let your child help choose a favorite color and look.
About 5 to 8 years old: a straightforward starter kit
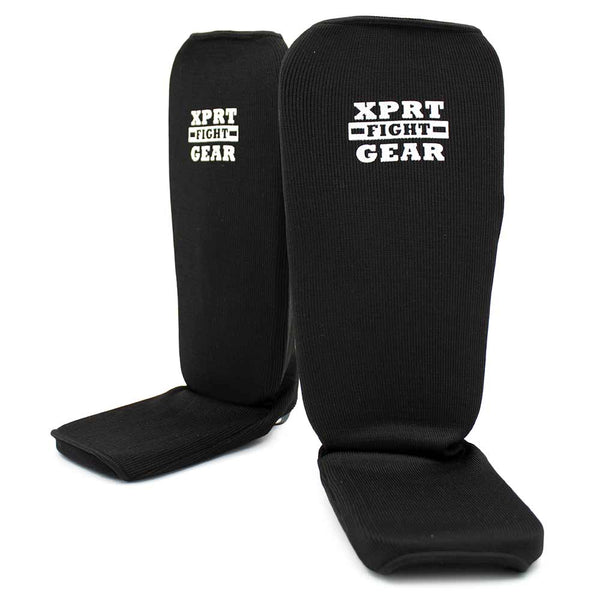
You’ll think about a sports bag differently for a five-year-old than for a teenager. You want gear that fits now, fastenings you can easily manage together, and a set that stays simple to keep track of. An affordable basic XPRT set with synthetic leather gloves, sock-style shin guards and shorts is a sensible starting point if your child is just beginning. A Booster Champion or Combat set is an alternative, but you’ll need to buy the shorts separately.
Have your child try on the gloves with the handwraps or inner gloves they’ll use. Small hands should not slide around inside the glove. Also check that the thumb feels comfortable and the wrist closure fits snugly. An age listed on the product page is no substitute for this check: two five-year-olds can have very different builds.
Inner gloves can be handy when your child wants to change quickly; with handwraps, you can help them wrap their hands at first. Don’t automatically choose the thickest option or the longest handwrap. The combination should fit comfortably inside the glove. Have your child move their fingers and make a fist before fastening the closure fully.
With shin guards, pay particular attention to the space around the knee and instep. Have your child lift their knee and extend their foot. Don’t buy a longer model to get ahead of a growth spurt if it presses against the knee now. Keep the rest simple: a comfortable shirt, shorts that fit, and the personal protective gear needed for the exercises. A sports bag is a useful addition for keeping the equipment together.
Around 9 to 12 years old: consider experience and growth spurts
Experience levels can vary widely in this group. One ten-year-old may be just starting out, while another has trained for years. A well-fitting basic set is a good choice for a beginner; a child who has trained longer can compare materials and designs more specifically. If your child has trained for a while and knows they want to continue, compare what a different design would offer.
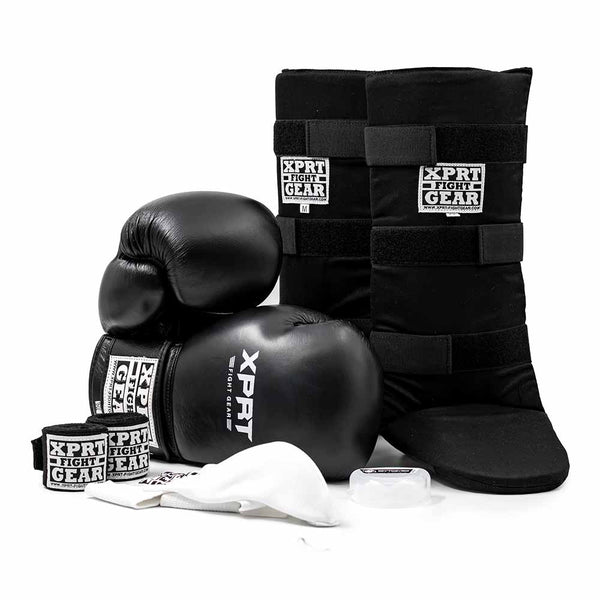
The leather XPRT sets offer an accessible combination with a different material choice for the gloves. Distinguish between Top Gloves with sock-style shin guards and Top Gloves with All-Round shin guards. Pro V3 pairs leather gloves with a different, pre-shaped type of shin guard. Choose based on fit and the combination you want, not because every child should wear a pre-shaped model after a certain birthday.
A growth spurt may mean the shorts need replacing before the gloves, or vice versa. Check each item separately. If a shin guard is too short or twists around, adjust the size or choose a different model. Don’t automatically move the whole set up one letter size, and don’t buy gloves that are too roomy to last through the next few months.
The sets’ age guidelines vary here. Some basic versions specify roughly ages 5 through 11, while other ranges go further. Turning twelve doesn’t rule a child out of every children’s set, but it also doesn’t mean the largest children’s size will fit. Check each set’s size chart for hands, legs and clothing, and try on the combination.
Around 13 to 16 years: choose by build, not the ‘children’ label
A fifteen-year-old is still young, but doesn’t necessarily need children’s gear. Some children’s models still fit one teen, while a larger or adult version fits another better. Don’t let the webshop category determine the size. Check the space for the hands, body weight where the glove chart uses it, leg length, and room in the clothing.
The children’s sets we looked at also show why one age cutoff doesn’t work. The Pro V3 product description gives a broader age range than many basic sets. However, the linked Pro V3 chart uses body weight for 8, 10 and 12 oz gloves, and height for the shin guards. The Twins children’s set chart lists 8 and 10 oz, with a separate height guideline for the leg protecors. These are model-specific guidelines, not a universal chart for all teens.
Does your teen fall outside the guidelines for a children’s set, or does the available size not fit well? Compare larger versions or put together gear from individual items. It can make perfect sense to combine gloves from one size range with shin guards and clothing from another. A larger build also doesn’t automatically mean more training experience or a fixed oz weight.
Your budget also depends on how the gear will be used. A well-fitting basic set is an accessible starting point. For a teen who enjoys training regularly, Pro V3 and Twins are good options for comparing different materials and fits. Still, check what’s included: the Twins basic set includes BGN gloves and SGL-7 shin guards, while clothing, a mouthguard, and handwraps or inner gloves need to be factored into the total budget.
Try on handwraps or inner gloves with the gloves, test the leg protecors while moving, and check how the shorts fit when squatting and kicking. That way, you choose gear for the person training in it now, not the number on their birthday cake.
Boxing gloves: training weight and fit first, then color
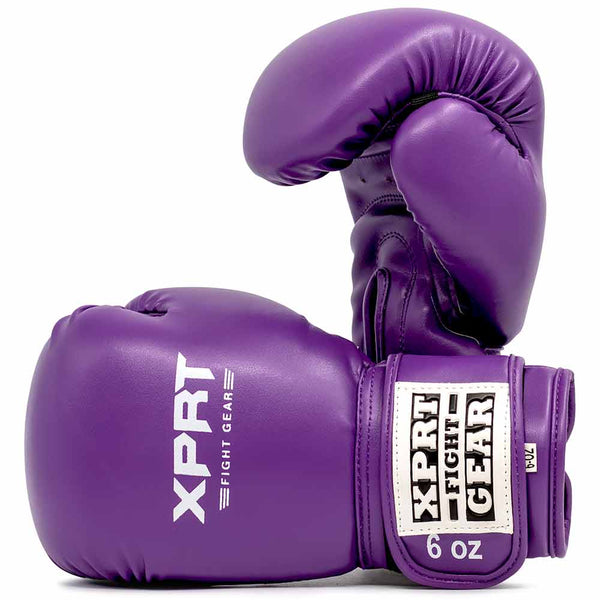
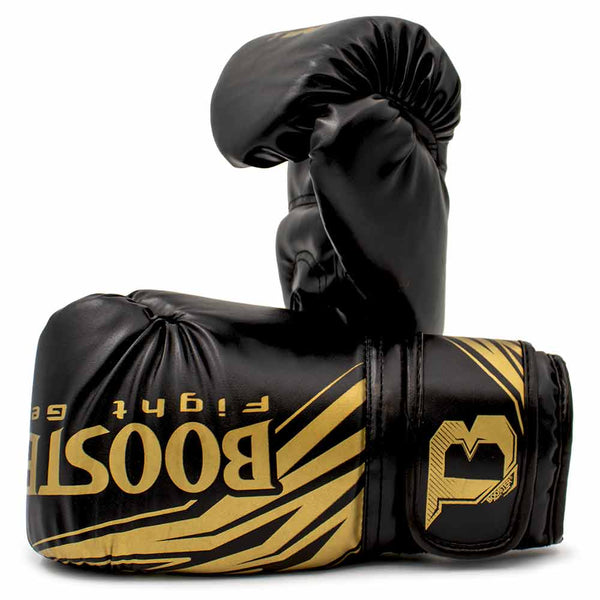
With boxing gloves, you’ll see weights such as 4, 6 and 8 oz. Oz indicates the weight of the glove, not the size of a child’s hand. The space inside varies by brand and model. So the same oz weight can fit well in one glove but be too loose or too tight in another.
Choose a weight that suits the training and use the model's own guidelines as a starting point. A fixed rule like 'every eight-year-old wears 8 oz' is too broad. Build, room for the hand and design also matter. Don't choose a different size just because a colour is marketed for boys or girls.
Have your child try them on with the handwraps or inner gloves they will use. Their fingers should feel comfortable, the thumb should not be pushed out of position, and the wrist closure should fit snugly. Have your child gently make a fist. Extra room to grow into is no advantage if the hand slides around inside the glove now.
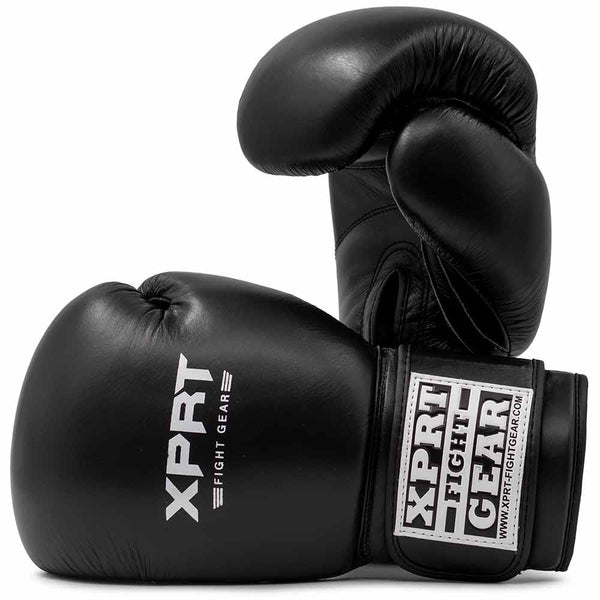
Examples of different designs include the synthetic XPRT Competitor V1 and the leather XPRT Top Gloves for children. The difference in material alone does not determine which glove is the best choice. Also compare the space inside, closure, intended use and available weights. The separate children's buying guide compares the models; the general size guide explains oz and fit in more detail.
Handwraps or inner gloves: leave room in the glove
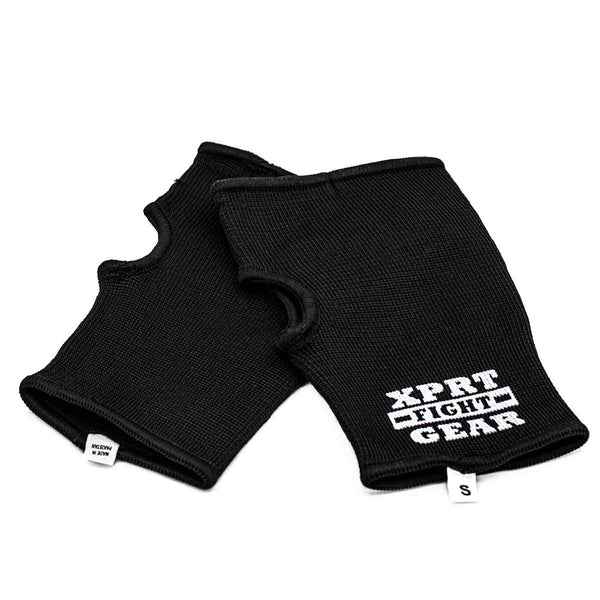
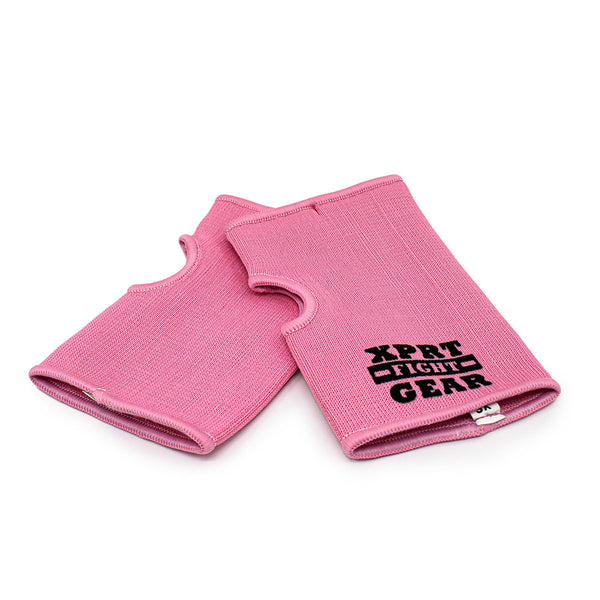
Inner gloves are practical when your child wants to get changed quickly on their own: they can put them on without wrapping their hands first. The XPRT Basic is one example. Choose the size based on how they fit the hand, then check the fit of the boxing glove again. An inner glove should not leave a loose bunch of fabric around the fingers.
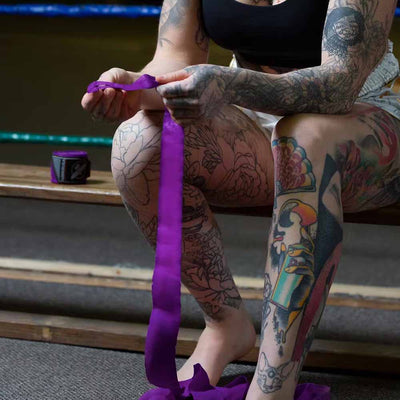
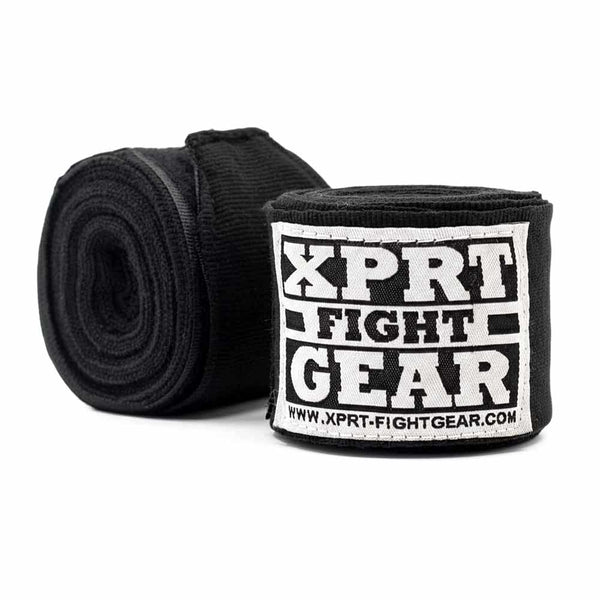
Handwraps wrap around the hand and wrist. A short version, such as the 250 cm XPRT Easy Stretch, can be handy for smaller hands. That length is not required for every child: the length needed also depends on the hand and how it is wrapped. More fabric is not automatically better if it makes the boxing glove too tight.
After putting them on, have your child move their fingers and make a fist. Stop if they feel pinching, tingling or pain, and adjust the wrapping or size. Wash handwraps and inner gloves according to their care instructions. Gear that absorbs sweat should also be taken out of the bag after class and left to dry.
Shin guards: a children's M is not a universal size
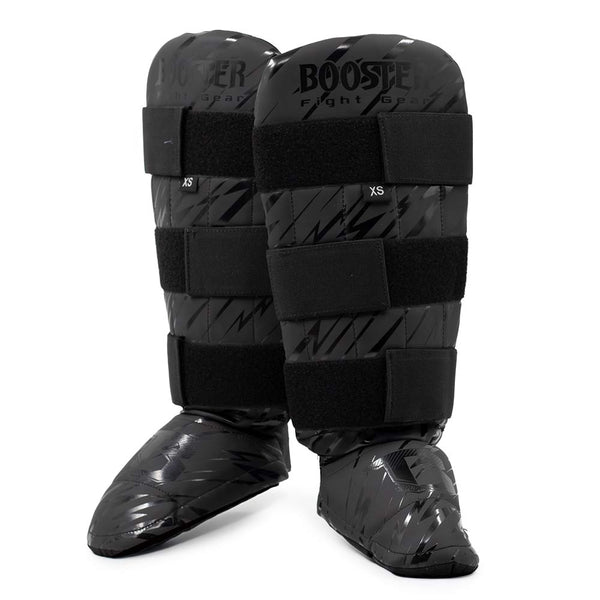
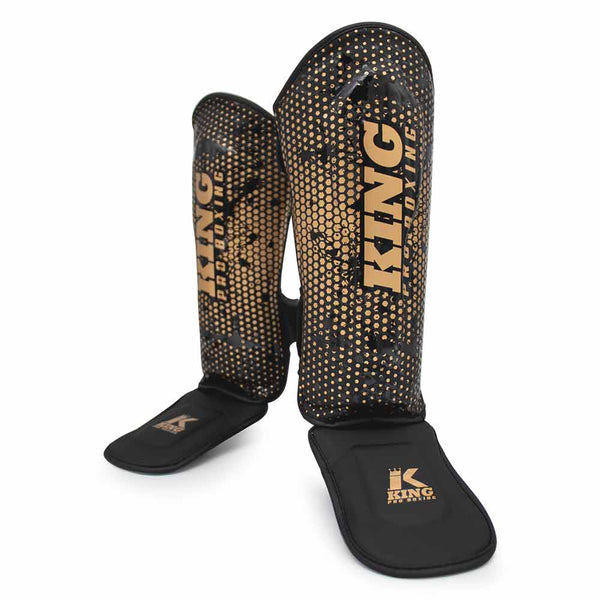
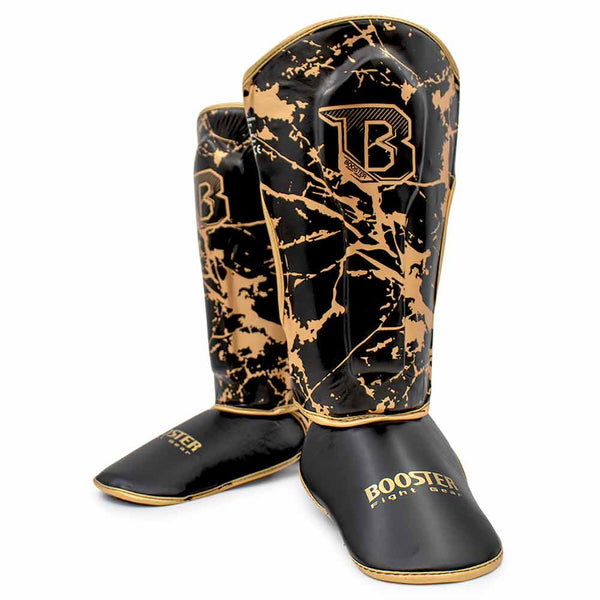
When choosing shin guards, don't go by the size letter alone. A children's M from King Hexagon means something different from an M in an adult range, while Booster Combat uses XS and S for children. Don't assume those size letters are interchangeable. Use the size chart for the model you choose.
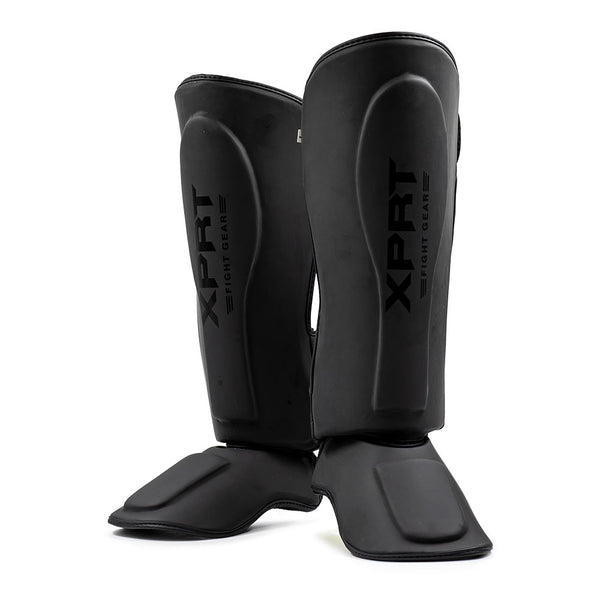
There are sock-style and pre-shaped models with belts. You pull a sock-style guard over the foot and lower leg; on a model with belts, you adjust the tension using the fasteners. Which type fits best depends on the fit and the training. Your child's age alone is not a reason to automatically choose one type over the other.
Have your child put on both guards, lift their knees, squat and point their feet. The padding should stay over the shin. The top edge should not press against the knee, and the foot section should not restrict movement uncomfortably. Don’t buy a guard that twists or slips down on the assumption that your child will grow into it.
The separate size guide shows the model guidelines and fit checks side by side. Use it to choose sizes; below, we focus on putting the full kit together.
Kickboxing shorts and shirt: check the waist and room to move
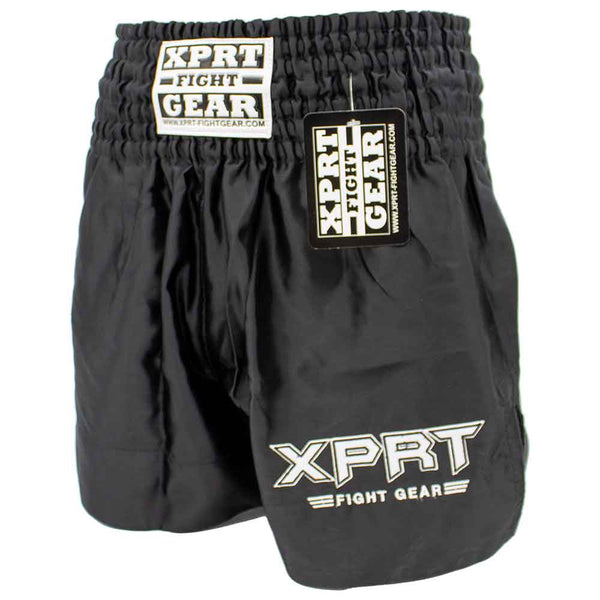
Kickboxing shorts leave room to lift the knees and kick. Choose a cut and waistband that let your child move freely; other suitable sportswear can also be worn for the first class if permitted. Watch out for hard parts, zippers and anything else that could get in the way during contact. A shirt should fit comfortably without constantly riding up or pulling.
Kickboxing shorts are cut differently from regular children’s shorts. Size XS does not automatically correspond to clothing size 122 or 128. Models can vary even within the same brand. Use the product size chart and check the waist, length and room around the thighs and crotch.
Have your child lift their knee high, squat deeply and make a slow kick. The waistband should stay in place without digging in. A drawstring is meant to adjust the fit, not make shorts that are far too big fit. Buy a shirt and shorts separately in the right sizes; they don’t need to have the same size letter.
A mouthguard: choosing the right fit and using it comfortably
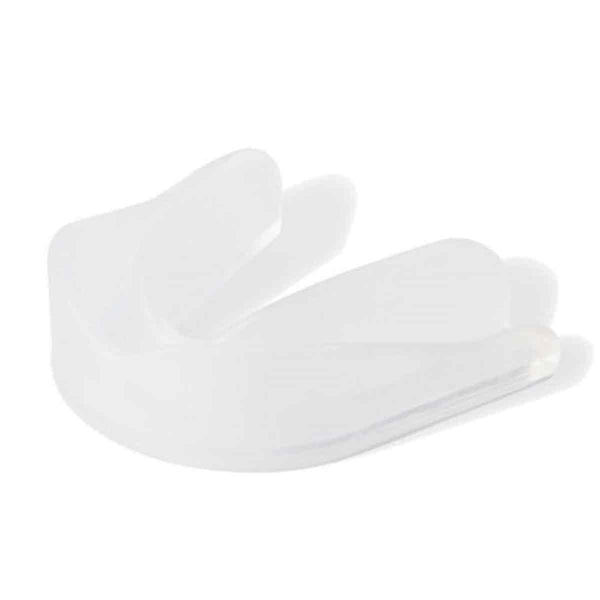
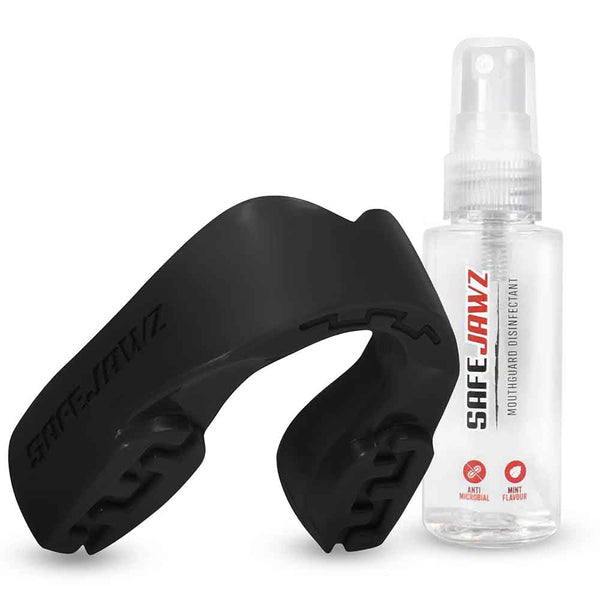
A mouthguard helps protect the teeth during contact exercises in class. Choose a children’s version that fits your child’s teeth and follow its product instructions. It should stay comfortably in place without your child constantly having to push it back with their fingers.
For a moldable model, follow the instructions for that specific product. Don’t use the temperature or method recommended for another brand. Have an adult help with the molding. Store the mouthguard clean and dry in a suitable case, following the product instructions.
If your child has braces, don’t just choose a standard moldable mouthguard. Ask their dentist or orthodontist which type suits their braces and teeth. Check the fit again as their teeth change. A mouthguard does not make unsuitable exercises or overly hard contact safe.
Cup and headgear: protection suited to the training
A groinguard or cup should suit your child’s build and the type of training. Check the sizing for the specific model and make sure it stays in place during movement. An adult version is not necessarily suitable just because the smallest letter size is available. The protection needed may also vary by type of training.
Choose headgear when training or competition requires it. Compare the model, size, field of vision and fastening so your child can move and see comfortably. The agreed contact rules still apply, even with protective gear.
For competitions, the equipment requirements of the relevant organization and competition class apply. There is no universal children's checklist that applies to every training session. This guide helps you put together training gear, not determine competition eligibility.
Choosing a kickboxing set: what's actually included?
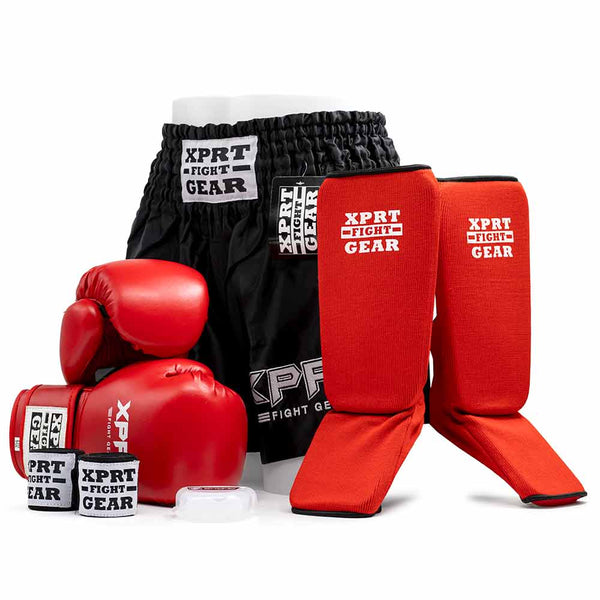
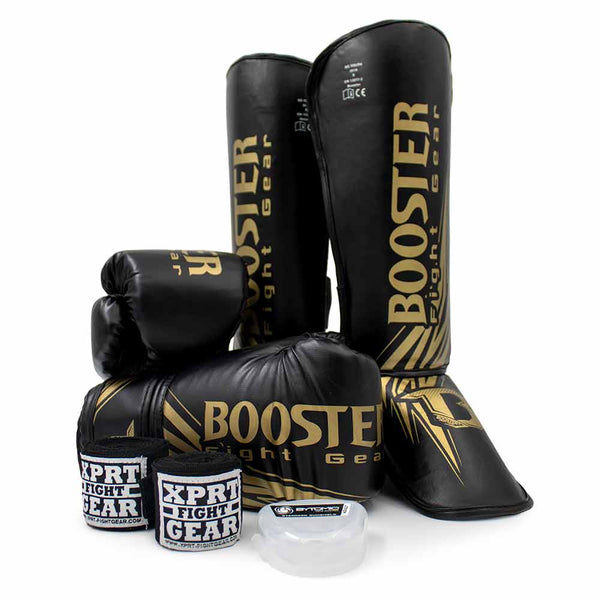
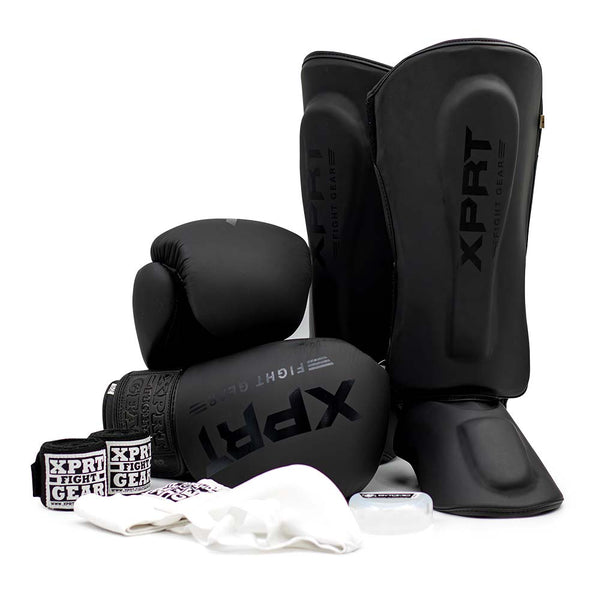
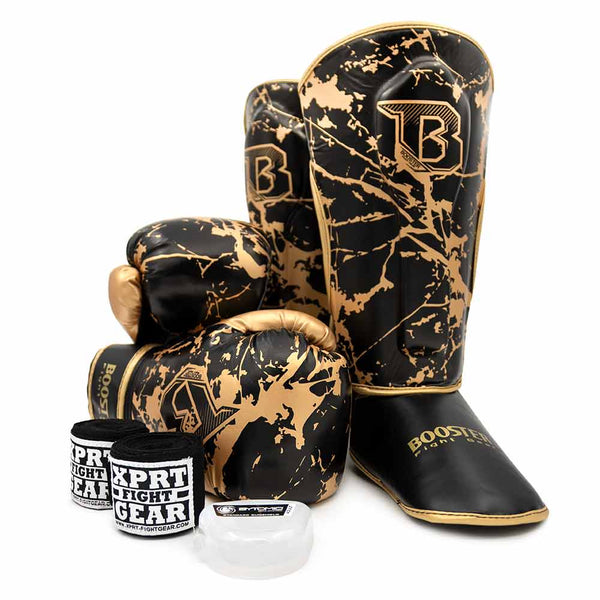
A set is handy when you need several items at once, but 'set' does not mean everything in the photo is included as standard. Check the description, the options you've selected and your final order. Handwraps, a mouthguard, clothing or a cup may be pictured or offered as extras.
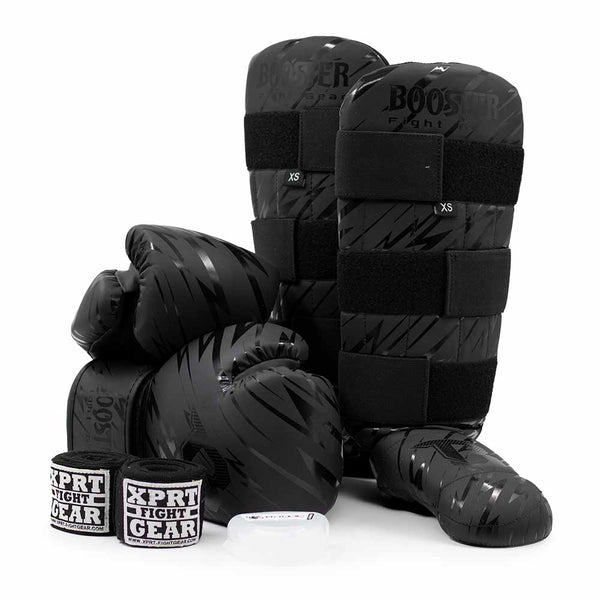
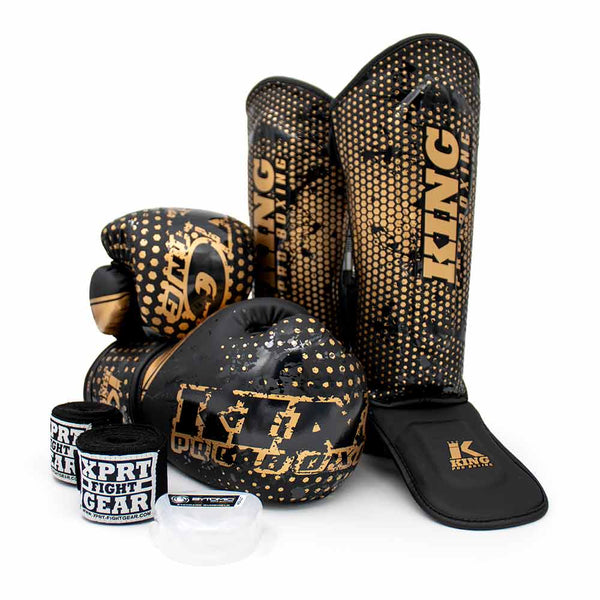
The selected Booster Combat Black, Booster Marble Gold and King Hexagon Gold sets include boxing gloves and shin guards as their core items. The Twins Special Black set combines Twins BGN gloves with SGL-7 shin guards. A mouthguard and handwraps are extras in these examples; don't assume you've already ordered them.
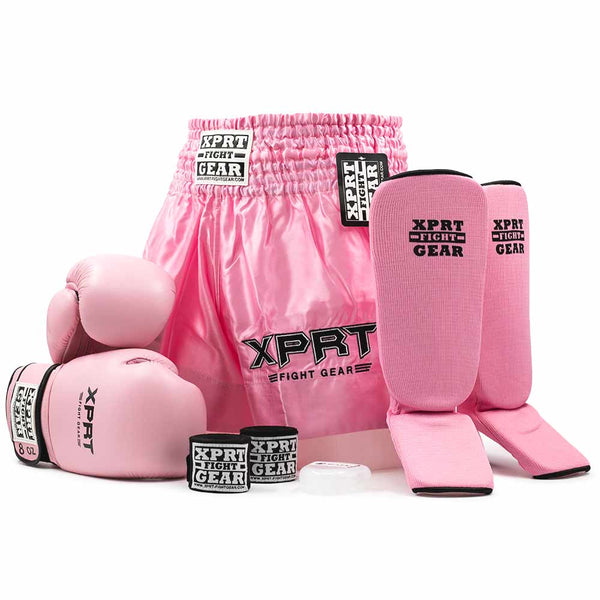
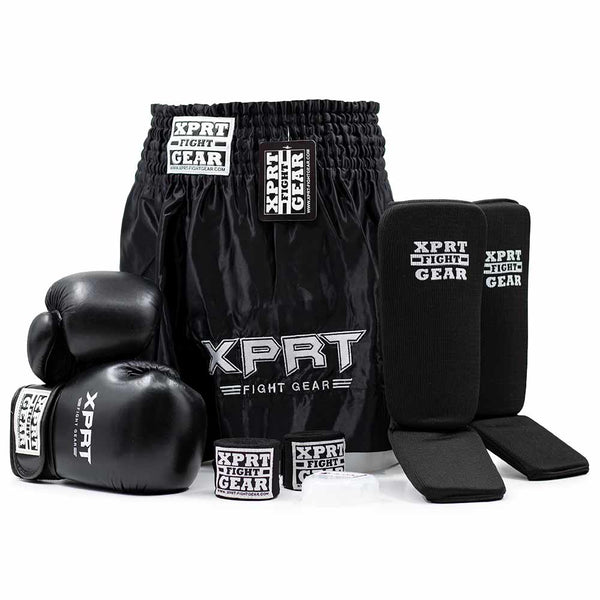
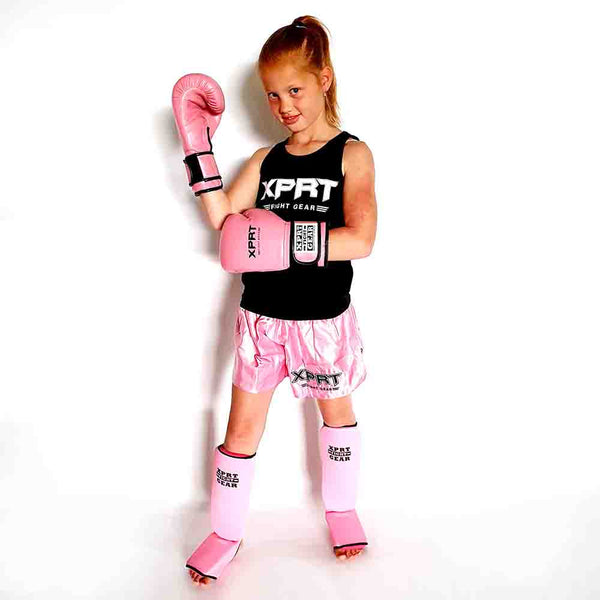
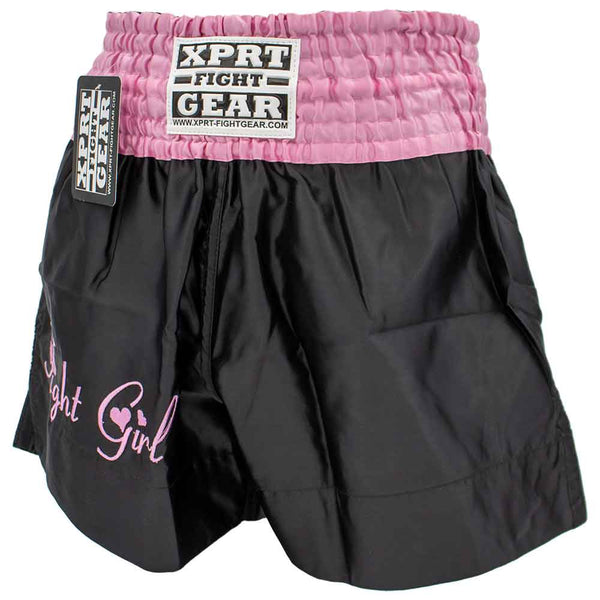
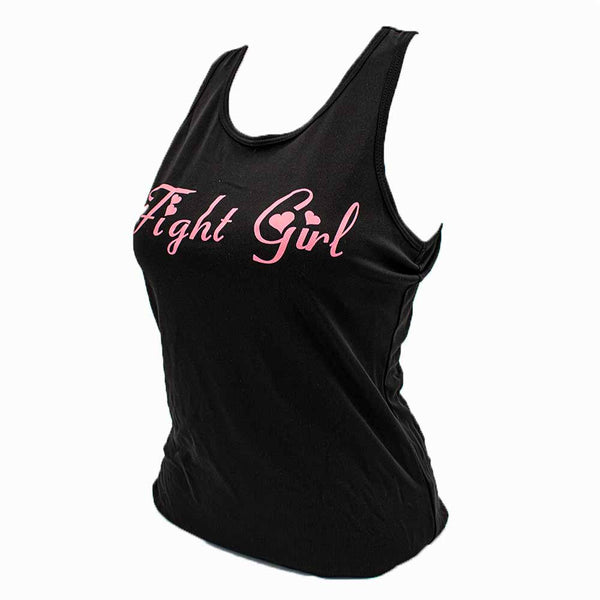
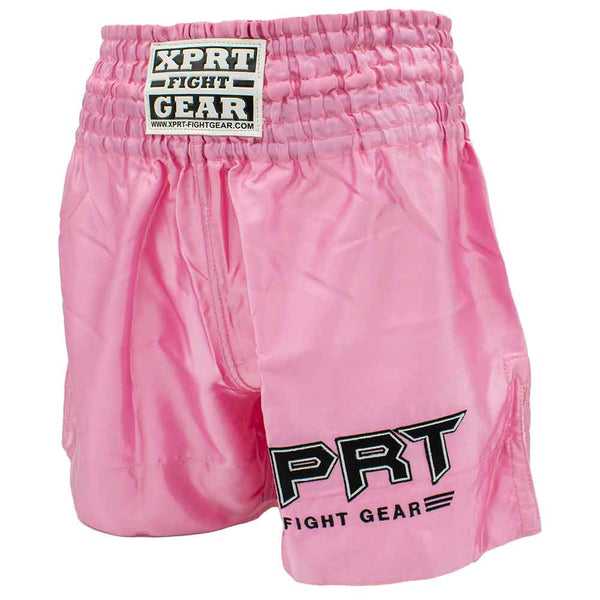
The selected XPRT Blue set also lists kickboxing shorts as part of the set. The XPRT Fight Girl Pink set also lists shorts and a top. A mouthguard and handwraps are optional extras for these sets too. Compare the actual contents, not just the brand or the group product photo.
When ordering, check the size of each item separately. The glove might be 6 oz, the shin guard XS and the shorts XXS. That's not an unusual combination: each product has its own sizing. A set is only a good choice if each item fits. The examples below are not a ranking.
Kids' set price ranges: what do you get for your budget?
There are good kids' sets at different price points. From an affordable basic XPRT set to a leather Pro V3 combination or a premium Twins set: compare the materials, fit and items your child will use. Make sure you compare sets with the same contents: one may include gloves, shin guards and shorts, while another requires you to buy clothing separately.
An affordable start: plenty of basic sets to choose from for around €100 or less
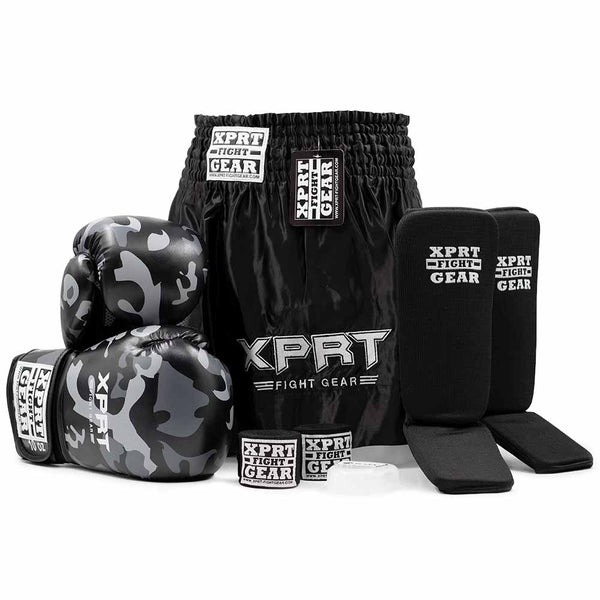
The standard XPRT kids' sets with faux leather gloves, sock-style shin guards and shorts are a good starting point. Consider XPRT Black, Blue or Red. They let your child try the sport without a big upfront investment. The age guidelines vary by version: many basic sets are offered for children aged around 5 to 11, while the pink basic set and other ranges, for example, have different guidelines. So choose by version and size, not just the age shown on the page.
Booster Champion and Combat are also in the affordable range. Their basic sets include gloves and shin guards; shorts are an extra. That is an important difference when comparing a Booster price with an XPRT set that includes shorts. Booster Marble and King Hexagon are other combinations in this price range. A well-known brand name or eye-catching print does not automatically make a set suitable for advanced athletes.
Compare colors, style and included clothing
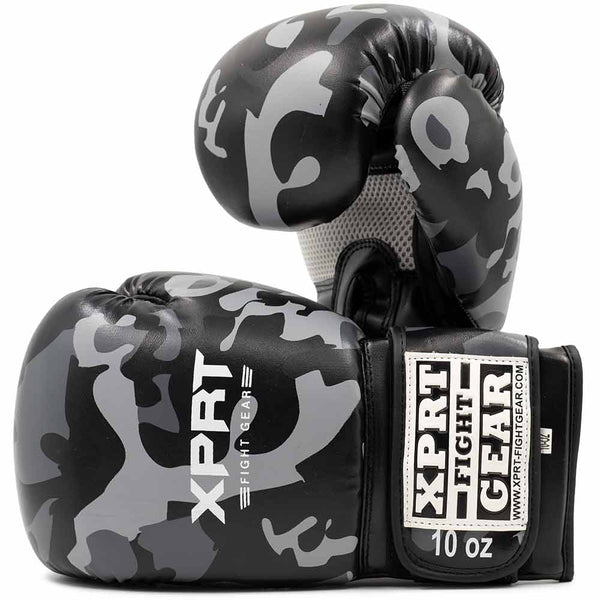
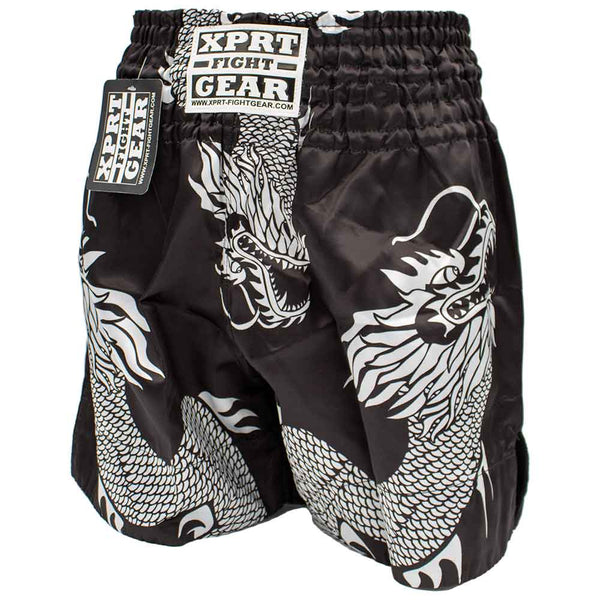
XPRT Camo, Fantasy versions such as Dragon and the gold-colored sets give your child more choice of style. Compare the actual gloves and shin guards in each, but do not treat a different print as proof of better protection. The Fight Girl basic sets also include a top alongside gloves, sock-style shin guards and shorts. So a slightly higher price can also mean more clothing is included.
Leather gloves can be an affordable next step
Even in the affordable price range, you can find sets with leather gloves. XPRT Black Leather Sock-Style and the pink leather sock-style set combine leather gloves with textile shin guards and shorts. XPRT Black Leather includes Top Gloves with All-Round shin guards and shorts. Pay particular attention to the difference in shin guards: two sets with leather gloves are not necessarily the same gear.
The prices and ranges in this section are guides to the cost of the basic set, not fixed totals for a fully packed sports bag. The product cards show the current base price. Open the set to choose sizes and extras, then compare the full cost, including, for example, handwraps and a mouthguard.
Training more often: when are Pro V3 or Twins right for your child?
If your child enjoys training regularly, it is worth comparing the materials and fit of Pro V3 and Twins. Consider the leather gloves, pre-shaped shin guards and how the fastenings fit. That way, you can choose a combination that feels comfortable during bag work, pad work and class exercises.
The mid-range: XPRT Pro V3 Midnight
The Pro V3 Midnight basic set falls in the mid-range, at around €100 to €175. It includes leather Pro V3 gloves, pre-shaped Pro V3 shin guards and shorts. That sets it apart from the basic XPRT versions with sock-style shin guards. This is a focused option if you want that combination, with its own materials and price range.
The product page lists a broader age range for Pro V3 than for many basic sets, but the size chart remains the deciding factor. The glove sizing guide starts at 8 oz and uses body weight; the shin guards are chosen by height. So even a younger child who already trains enthusiastically must first fit this specific combination. Use the model-specific sizing guides as a starting point and check the fit of the complete set.
The higher price range: Twins Special
The Twins Special children’s set costs around €300 for the base set, making it a considerably bigger purchase. It’s an appealing premium choice for children who enjoy training regularly and find the Twins fit comfortable. Compare the complete contents with XPRT and Booster so you can weigh up the materials, sizing and contents side by side.
The Twins set combines leather BGN gloves with SGL-7 shin guards made of Skintex. So it isn’t accurate to simply call every item in the set ‘leather’. This base set includes two types of protection; count shorts, handwraps and a mouthguard separately. Compare that with Pro V3, where the shorts are already included in the described base set.
With Twins, a higher price doesn’t automatically mean a better fit. The linked chart uses 8 and 10 oz for gloves and height for shin guards. Check the room for the hands with the handwraps you’ve chosen, and try on both leg protecors while moving. Twins is therefore a premium option alongside the affordable basic sets and the mid-range Pro V3.
Comparing children’s sizes: 128, XS and 6 oz use different systems
Clothing sizes such as 116, 128 and 140 help with ordinary children’s clothing, but they aren’t a shared sizing system for kickboxing gear. Gloves are sized in oz, shin guards use brand-specific letters, and shirts sometimes use age or height. A weight chart for shorts is different again from a chart for gloves.
The set size charts differ too. The linked XPRT set chart uses body weight as a guide for gloves and age as a guide for Competitor shin guards. The King Hexagon children’s set uses age as a guide for both items, but different size letters for the shin guards. Don’t turn these into one universal children’s size chart.
Use the size chart for the version you actually choose. Then check the fit. If your child is near the boundary between sizes, don’t automatically size up. More weight in a glove doesn’t just mean more room inside, and a longer shin guard may reach the knee. If one size doesn’t fit and the next isn’t comfortable either, compare another model.
Buy what you need: spend your budget on what fits now
Build your child’s gym bag around their training and fit. A set gives you a convenient combination of protection and sometimes clothing; with individual items, you can mix materials and size ranges. A gym bag keeps everything together, and a favorite color makes the gear even more fun to take along.
When comparing a set with individual items, compare the complete set you’ve chosen. Include any extras you actually need. A lower base price means little if you thought clothing, handwraps and a mouthguard were already included. That’s why we don’t give a fixed total price for ‘a children’s set’: the contents and choices vary.
Once you’ve found equipment that works well, let your child have a say in how it looks. A fun color and a favorite combination can make training more enjoyable. You don’t have to choose between good looks and a good fit: let your child pick from models and sizes that fit well.
After training: unpack, clean and check again
Take gloves, shin guards and wet clothing out of the sports bag after class. Open the fastenings so the equipment can dry according to its care instructions. Don’t leave damp gloves packed away until the following week. A spray is no substitute for unpacking and drying them.
Wash clothing, handwraps and inner gloves according to their care labels. Follow the instructions for the specific leather, synthetic or textile shin guards you’ve chosen; no single cleaner or treatment suits every material. Don’t routinely apply grease or petroleum jelly to every glove.
Check the seams, fastenings and position of the padding regularly. Check the size again as your child grows or starts using a different handwrap. A painful edge, loose fastening or slipping guard isn’t something they should just put up with. Fix the cause before your child continues training with it.
The sports bag checklist: go through the equipment together once
Have your child put on the gloves and shin guards before class. Check the fit around their hands with the chosen layer underneath, have them lift their knees and test the clothing with a squat and a kick. That way, you can spot at home if a fastening is awkward or shorts pull too tight.
Then get the personal items ready: a clean mouthguard with its case when needed for class, the right additional protection, a water bottle, a towel and possibly a dry shirt. With a new set, check exactly which extras you’ve selected. The sports bag checklist helps you lay out the chosen items and extras so nothing gets overlooked.
Conclusion: head to class happily with equipment that fits
The best start is equipment that fits your child well now and suits their training. Start with gloves, shin guards, suitable handwraps or inner gloves, and clothing. Add a mouthguard and other protection as needed. Choose a fit that works now, and check what the set includes and which options you’ve selected.
Use the size chart for each item and try on the combination as your child will wear it during training. Compare kids’ models in the specialist buying guide and use the size guides for gloves and shin guards for more detail. That way, you can put together a practical sports bag your child will enjoy taking to class.
















))
))