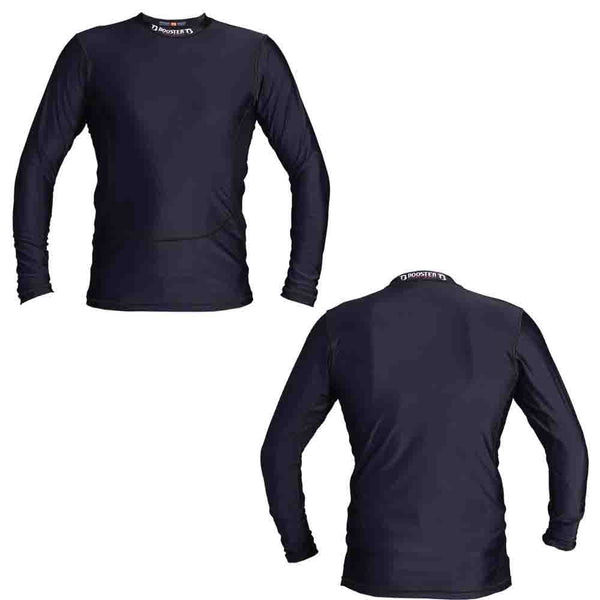
During a takedown, escape or round of ground work, your body is not the only thing moving. Your clothing gets pulled along, slides across the mat and ends up between you and your training partner. A rashguard is a practical choice for this kind of training: a close-fitting shirt that moves with you and puts a layer of fabric between your skin and the contact surface.
The benefits lie mainly in the combination of fit, skin coverage and freedom of movement. This makes a rashguard worth considering for BJJ, no-gi, grappling and MMA, as well as a comfortable training shirt for other exercises. What exactly does that layer add? When should you choose short or long sleeves? And how do you choose a style that moves comfortably with you?
What makes a rashguard different from a regular sports shirt?
A rashguard is a close-fitting, stretchy sports shirt. Many styles combine a synthetic fiber, such as polyester, with elastane for stretch. Compare the fabric composition, seams and finish of the style you want to wear. That way, you can choose based on the features of the actual shirt.
You notice the main difference from a loose T-shirt when you move. A well-fitting rashguard has less loose fabric around your torso and arms. That can feel more comfortable when you turn, move out from under someone or get back up from your knees. Your shirt should move with you without restricting your shoulders or constantly riding up at the hem.
The fabric adds a layer over the skin it covers. The main benefits are comfort and practicality during contact and movement: close-fitting clothing, comfortably covered skin and less loose fabric to deal with.
A layer between your skin and the contact surface
In grappling, you make contact in many different ways: a forearm against the mat, a shoulder under an opponent or your back against the inside of a gi. A rashguard puts fabric between your skin and those surfaces wherever it covers you. Anyone who finds the rough feel of a mat or gi uncomfortable may appreciate that extra layer.
Fit, seams, moisture and the way you train all affect how that coverage feels. The fabric also moves across your skin. Look for a smooth fit with enough stretch: excess fabric can bunch up, while a cut that is too tight can pull at the armpits or neck.
After training, note where the fabric feels comfortable and where your skin becomes sensitive. Check whether a seam runs across that area, a sleeve rides up or the hem shifts. This will help you choose a size or cut that stays in place better during your exercises.
Less loose fabric when rolling, turning and getting up
A loose shirt can slide over your head or across your shoulders during groundwork. Your hands or feet can also get caught in loose fabric. A close-fitting rashguard reduces the amount of loose material. That means one less distraction during an exercise: you will not have to keep pulling your shirt back down.
A good fit does not mean choosing the smallest size. You should be able to raise your arms above your head, move your shoulders forward and twist your torso. The fabric should move with you. If you keep pulling the neckline down to make room, the cut or size probably is not right.
Check the length, too. A shirt that just reaches your waistband when you stand still may be too short in a deep stance. Conversely, too much extra length can bunch up below your hips. The aim is a close fit that stays in place as you move.
Booster GS: a look at the fabric, stretch and fit
A specific product helps you identify the general features to look for. Consider the fabric, stretch, finish and fit together to find out what feels comfortable when you move.
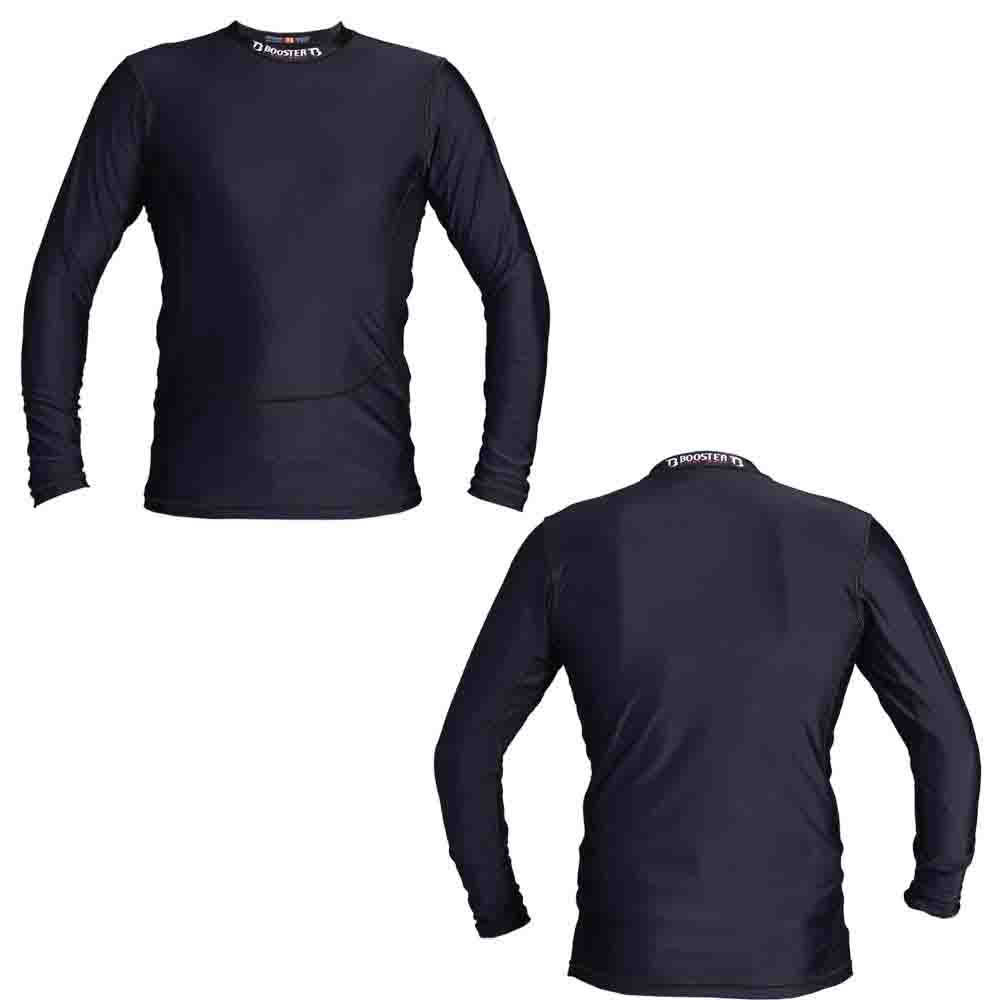
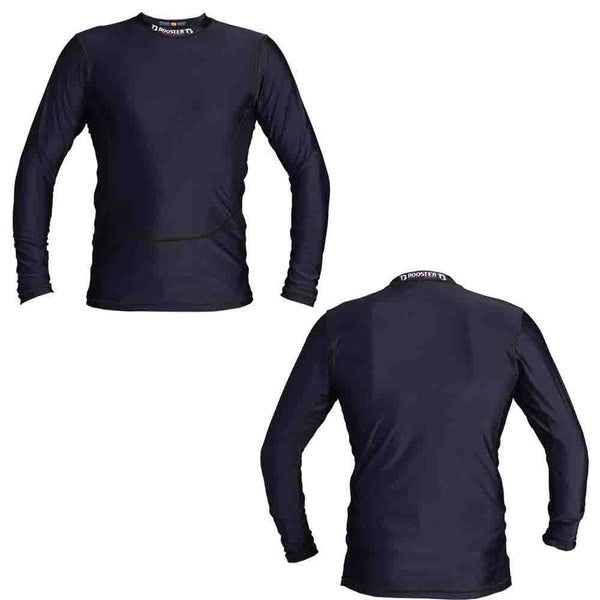
Booster GS Black
According to the product details, the Booster GS combines polyester with elastane and has stretchy side panels. These are specific features to look for if you want a close-fitting training shirt. Check how freely your shoulders move, how the shirt fits around your torso and whether the seams feel comfortable.
The product card shows the available size options. The table below applies to this model and is not a general size chart for all rashguards. Compare the measurements, then select your preferred available option on the product card.
Sweat and heat: training comfortably is a balancing act
The fibers, thickness, fit and surface of the fabric affect how moisture spreads and how the shirt feels during a sweaty workout. Ventilation in the gym and the intensity of your training also matter. So assess how it feels in the conditions in which you wear it.
A stretchy synthetic shirt can feel more comfortable during a sweaty workout than a loose shirt that gets heavy and clings to your body. Notice how the fabric behaves as you move, even when it is damp. The right combination of stretch, fit and fabric thickness makes a difference to your comfort.
An extra layer under a gi can feel comfortable against your skin by preventing direct contact with the gi, but it can also make the combination feel warmer. During training, check how the two layers fit and move together. That way, you can choose a base layer that suits your gi and your comfort preferences.
Short or long sleeves: how much skin do you want to cover?
The clearest difference is how much skin is covered. With long sleeves, the fabric covers your forearms; with short sleeves, they remain mostly uncovered. If you dislike having your forearms in contact with the mat, that extra coverage is a practical reason to consider long sleeves.
Short sleeves can feel comfortable if you want less fabric around your elbows or prefer to leave your forearms uncovered. Compare how they feel when you bend and straighten your arms with the extra coverage of long sleeves. How you feel about fabric around your arms and how much coverage you want can guide your choice.
Under a gi, consider both clothing layers together. Does the sleeve lie flat, or does it bunch up at your elbow? Does the combination feel comfortable when you bend your arm? For no-gi, focus on how well the cuffs and hem stay in place when you grip, defend and change position.
Check the product listing for the available sleeve lengths and styles. This helps you match your preference for coverage and comfort to the model you want to buy.
Gi, no-gi and MMA: the same basics, a different training setting
For no-gi and grappling, you wear the rashguard as a visible top layer. You'll immediately notice how it fits around your torso, shoulders and hips. Pair it with trousers suited to ground work, so a comfortable top isn't undermined by a tight waistband or awkward fastening.
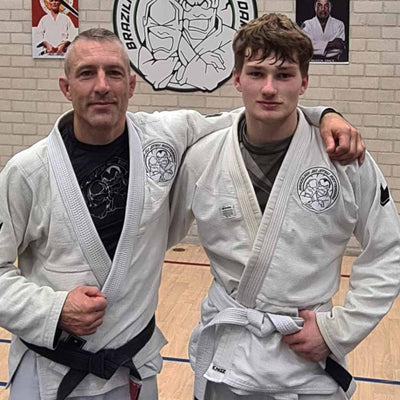
For BJJ with a gi, a rashguard can be a comfortable base layer during training. It sits between your skin and the gi. Check how the layers move together, how much room you have at the shoulders and elbows, and what clothing rules your training group follows.
An MMA class can combine stand-up work, clinching and ground work. A shirt that stays in place is especially practical when switching between them. So don't judge it only while standing in front of a mirror: crouch low, rotate your hips and move your arms as if pulling someone toward you.
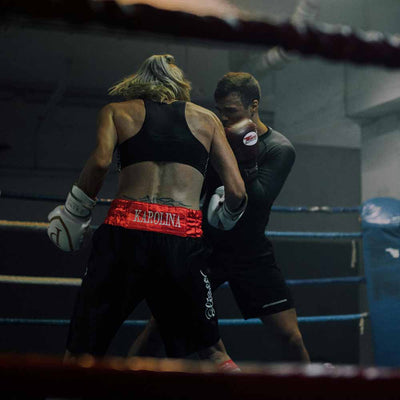
For boxing, kickboxing or fitness training, the same close fit can also feel comfortable. Here, the focus shifts from contact with the mat to how the shirt feels and how freely you can move. This lets you compare the same type of shirt for different parts of your training week.
Hygiene: start clean and care for your gear
A clean training shirt is part of a comfortable routine for contact training. Start each session with washed, completely dry clothing and keep worn clothing separate from your clean gear. That makes it easier to prepare for your next session.
The CDC gives athletes practical advice on personal hygiene, clean clothing, using their own towels and caring for small wounds. Together with caring for your clothing, these everyday steps provide a useful foundation for responsible contact training.
Keep your routine simple: start with a clean shirt, use your own towel and shower after training. Wash worn clothing after every session and let everything dry completely. Simply airing out a shirt is not the same as washing it before your next contact training session.
Don’t use a rashguard to cover a suspicious skin spot and keep training. Have symptoms that could indicate an infection assessed by a healthcare professional. That’s part of training responsibly with physical contact, whatever fabric you wear.
Check the fit by moving
Start with the model’s size information, but don’t stop there. Put the shirt on properly, smooth out the fabric and check the neck, armpits and hem. It should fit snugly without making you hold your breath or constantly tug at the seams.
Raise your arms and reach forward. Twist your torso and crouch into a training stance. Check whether the hem still provides enough coverage and the shoulder seams stay comfortable. If the neck pulls against your throat or the fabric digs into your armpit, a tighter fit is not the answer.
Under a gi, do the same check with the gi on top. A base layer may feel comfortable on its own but bunch up when worn under another layer. For no-gi training, check how the shirt sits at your waistband without forming an uncomfortable roll of fabric.
Use your usual T-shirt size as a starting point, then refine your choice using the model’s size information and a movement check. Brands and models vary in cut. Choose the size that feels comfortable around the neck, shoulders and torso and is the right length.
A close fit and a comfortable feel
Some athletes like the close-fitting feel of a rashguard. That’s a valid preference. The shirt feels less loose against your body and may give you the sense that everything stays in place better as you move.
Check that close-fitting feel during the movements you actually make. Notice how freely your shoulders and arms can extend, how the fabric sits across your torso and whether the hem stays in place when you crouch. This makes it easier to tell which fit you prefer.
The qualities you notice right away help you choose: freedom of movement, a comfortable fit and fabric that stays in place. With a comfortable shirt, you can focus on your training instead of your clothing.
After training: wash, dry and start fresh
Wash a used rash guard after training. Don’t leave it rolled up in a closed bag for days. Keep worn clothing separate from clean gear so you don’t have to work out what’s still fresh and ready to wear just before training.
Wash the shirt inside out and follow the sewn-in care label for temperature, cycle and drying. That label reflects the actual fabric and construction. Don’t automatically choose the highest temperature just because it’s a contact sport, but don’t treat a quick rinse as a complete wash either.
Let the shirt dry completely before packing it again. Use a drying method permitted by the care label. Direct heat or an unsuitable dryer setting can put unnecessary strain on stretchy clothing. If you have several training shirts, you can start each session with a clean, dry one.
Check the seams and stretch from time to time. If the fabric stays loose, damaged seams chafe or the hem keeps rolling up, the shirt will feel less comfortable. Proper care and occasional checks serve the same purpose: keeping your clothing comfortable as you move.
Competitions: choosing the right style
Check the event’s clothing rules before a competition. Organizers may set requirements for color, coverage and how tops and bottoms are combined. Gi and no-gi each have their own rules.
The IBJJF uniform page makes this distinction clear: it describes gi and no-gi separately, with specific requirements for close-fitting tops in no-gi and different rules for a shirt worn under the gi. Check your event’s rules for these requirements rather than relying on a product’s general “rash guard” label.
For everyday training, start with fit and intended use. For a competition, choose a style that meets the current requirements of the specific event. That way, you can make an informed clothing choice for both class and competition.
Conclusion: the benefits come down to comfortable, covered movement
A rash guard is primarily a practical clothing choice for training with lots of movement and contact. Its close fit means less loose fabric, while a layer of fabric separates your skin from the mat, gi or training partner. You’ll notice the difference when rolling, turning, defending and getting back up.
Choose short or long sleeves based on how much coverage you want and how they feel. Check the fit with actual training movements, and assess a base layer while wearing the gi. Every training situation is different.
A rash guard gives you a close-fitting layer for the movement and contact involved in training. Choose one that feels comfortable and keep up a regular washing routine, and you’ll have a clean, dry shirt ready for every session.