Caring for your headgear starts after sparren: wipe away sweat, carefully clean the inner lining and outside, and let everything dry completely. With a soft cloth and a regular routine, you can keep your headgear comfortable to wear and ready for your next training session.
Treat the inside and outside separately. Use no Sukkiri, FreshKO or similar spray on the outside, even on faux leather or synthetic microfibre. If needed, you can apply a thin layer of suitable leather cream to a smooth leather exterior. Don’t apply cream to the lining, chin strap, laces or hook-and-loop fasteners.
Clean it after every training session, not just when it starts to smell
You don’t need to wait until your headgear starts to smell unpleasant. It’s the small steps after every training session that make the difference: dab away the sweat, wipe down the surfaces that touch your skin and let the lining air out. What you remove now won’t be against your face again at your next training session.
Caring for headgear is about more than keeping the outside looking neat. You also want a clean inner lining, fastenings that stay secure and a fit that isn’t affected by trapped moisture or greasy residue. So don’t just look at the forehead panel with the logo; check the whole headgear.
Make unpacking your bag a regular habit when you get home. Headgear left among damp clothes overnight won’t suddenly be dry when you open the zip. Take it out and give the inside room to dry.
The spots that are easy to miss
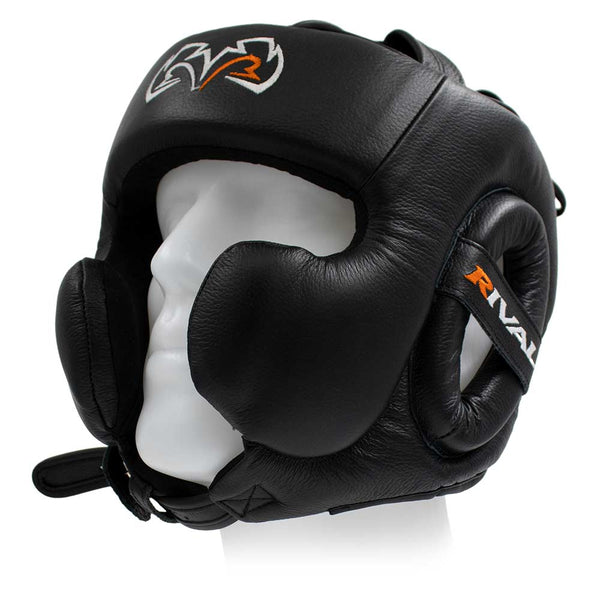
The inside around your forehead, cheeks and chin has a lot of contact with your skin. Wipe these areas thoroughly with the cloth. Gently wipe around the edges by the ears and the fastening at the back of the head too: sweat, hair and other residue can easily collect there.
Undo the chin strap and rear fastenings so you can reach them. Don’t pull the headgear apart by force or push a wet cloth deep into seams or openings. Clean the surfaces you can reach; the aim isn’t to wet the padding inside.
Use a clean part of the cloth for the lining. Don’t use a cloth on the surfaces that touch your face if you’ve already used it to clean a dirty floor or the outside of your gym bag. Use a separate, dry cloth to pat it dry.
Clean your headgear in six steps
Get a soft, clean cloth, some lukewarm water and a dry cloth ready. Wring out the damp cloth well. It should be slightly damp, not dripping. Work your way carefully over the different parts, and don’t keep adding more water if a spot is still dirty.
- Open the fastenings. Undo the chin strap and rear fastenings so you can reach the inside. Keep the basic fit adjustments in place as much as possible and do not force the headgear out of shape.
- Blot away excess sweat. First, use a clean, dry cloth around the forehead, cheek pads and chin. Press gently without squeezing the padding.
- Wipe down the outside. Clean leather, PU or synthetic microfiber with the soft, slightly damp cloth. Do not use Sukkiri, FreshKO, bleach or harsh household cleaners on the outer material.
- Clean the inner lining. Wipe the accessible contact surfaces separately. Switch to a clean part of the cloth and work carefully around the chin, cheeks and ears. Do not soak the lining.
- Check the fastenings and seams. Remove hair and lint from the hook-and-loop fasteners and check that the laces, stitching and attachments are intact. Do not apply cream to these parts.
- Blot away any remaining moisture and let it dry completely. Use the dry cloth to remove any remaining moisture, then place the headgear with the fastenings open in a dry, well-ventilated spot. Do not use it again until the lining is dry too.
Do not use a washing machine or dryer. Do not rinse the headgear under the tap or submerge it in water. More water will not make this routine more thorough; the aim is to clean the surface without getting the entire headgear wet.
The inside and outside need different care
Clean the outside with a soft, slightly damp cloth. This is our approach for both leather and synthetic models. Sukkiri and FreshKO are not cleaners for the outside. So do not spray the entire headgear to get it done in one go.
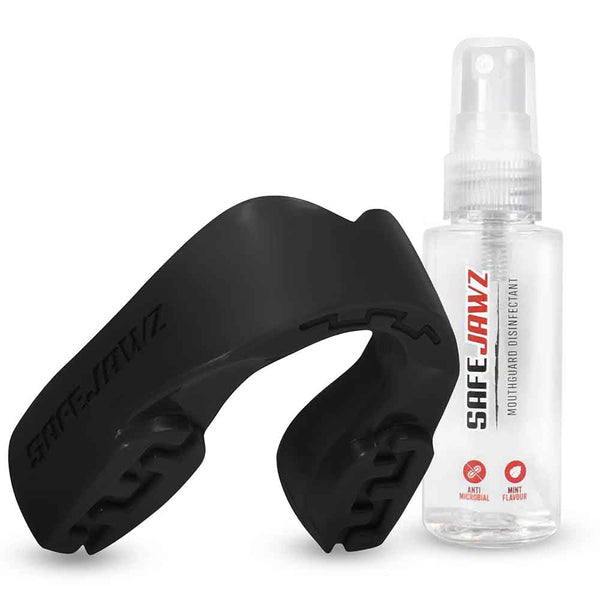
Start by wiping the inside clean and drying it. If you also want to use a suitable care spray for the inner lining, apply it lightly and only where needed. Do not spray it on your face, the outside or the fastenings, and do not soak the lining with it. Let the inside dry completely before putting the headgear back on.
Targeted care for the inside follows the removal of sweat and dirt. Use a suitable spray according to the package instructions, then give the lining enough time to dry. Clean the fastenings too.
Care for leather headgear sparingly
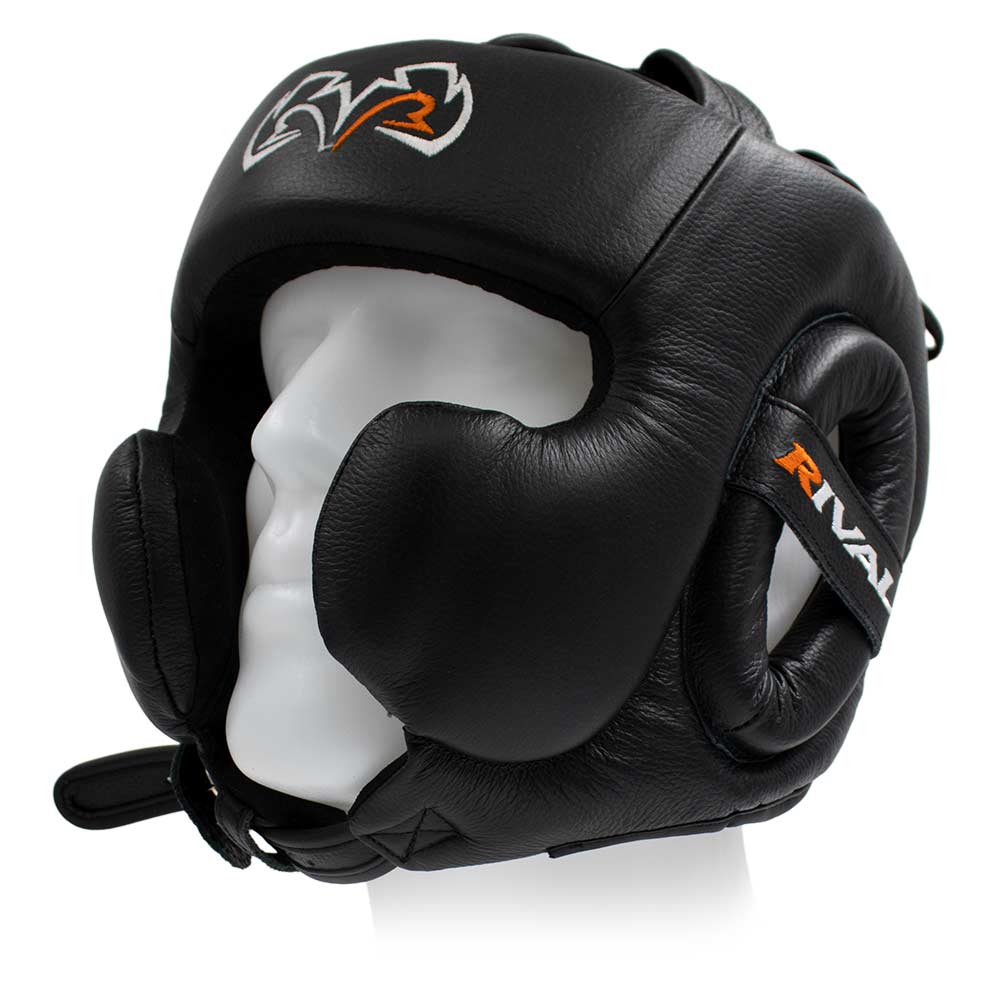
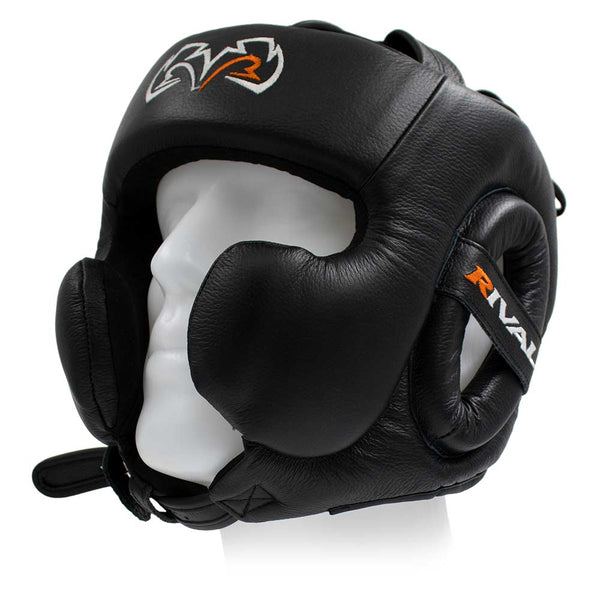
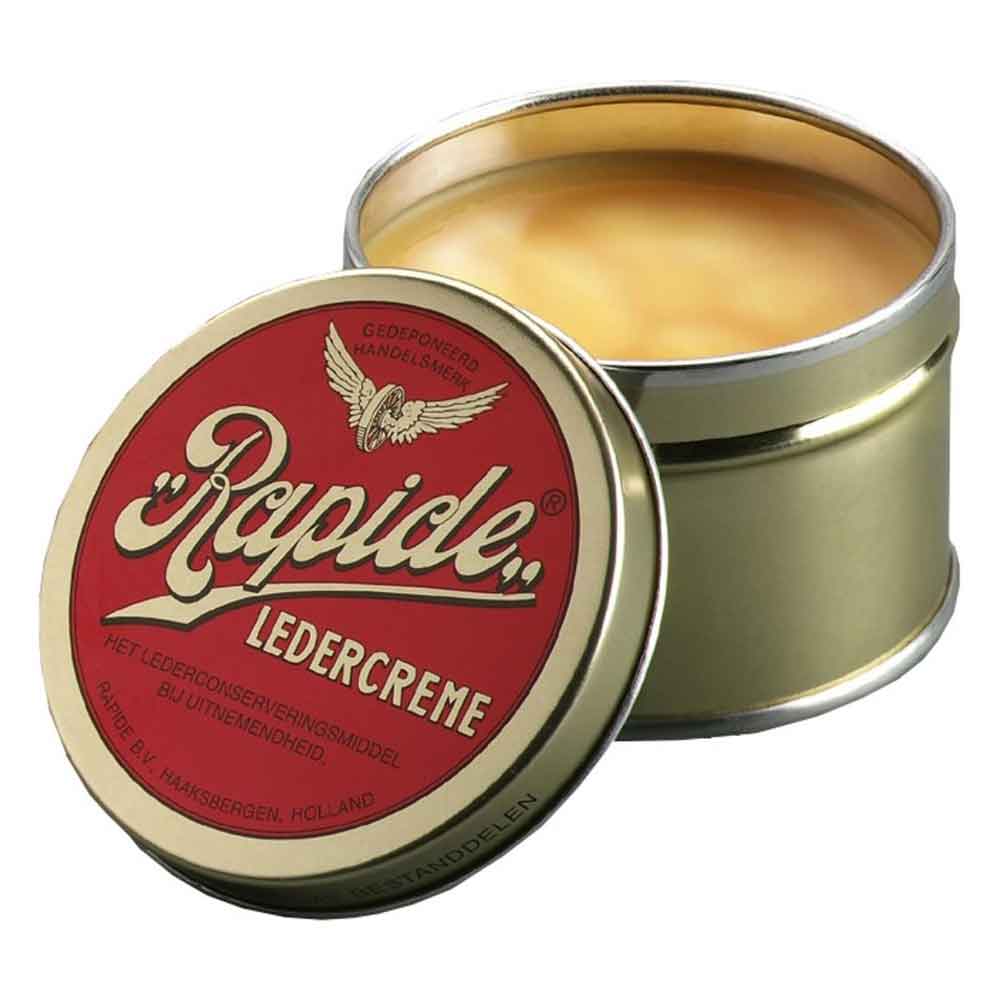
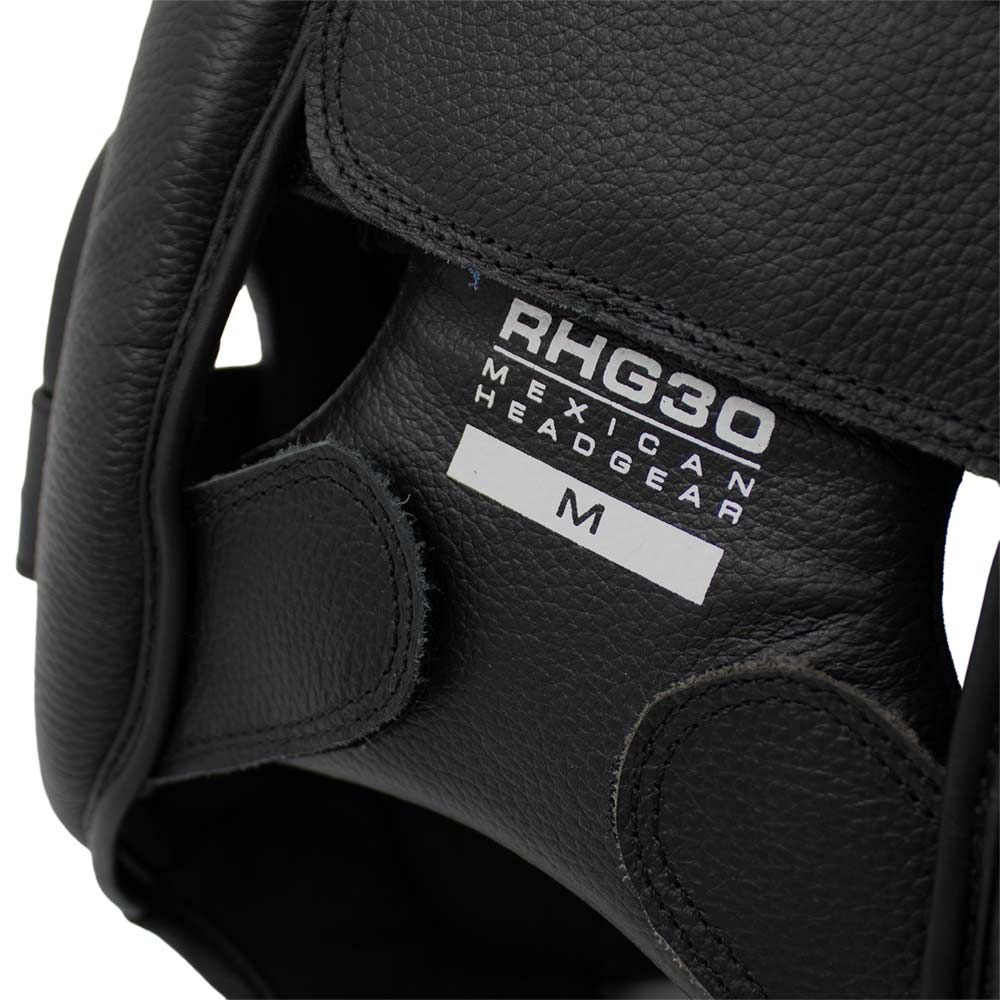
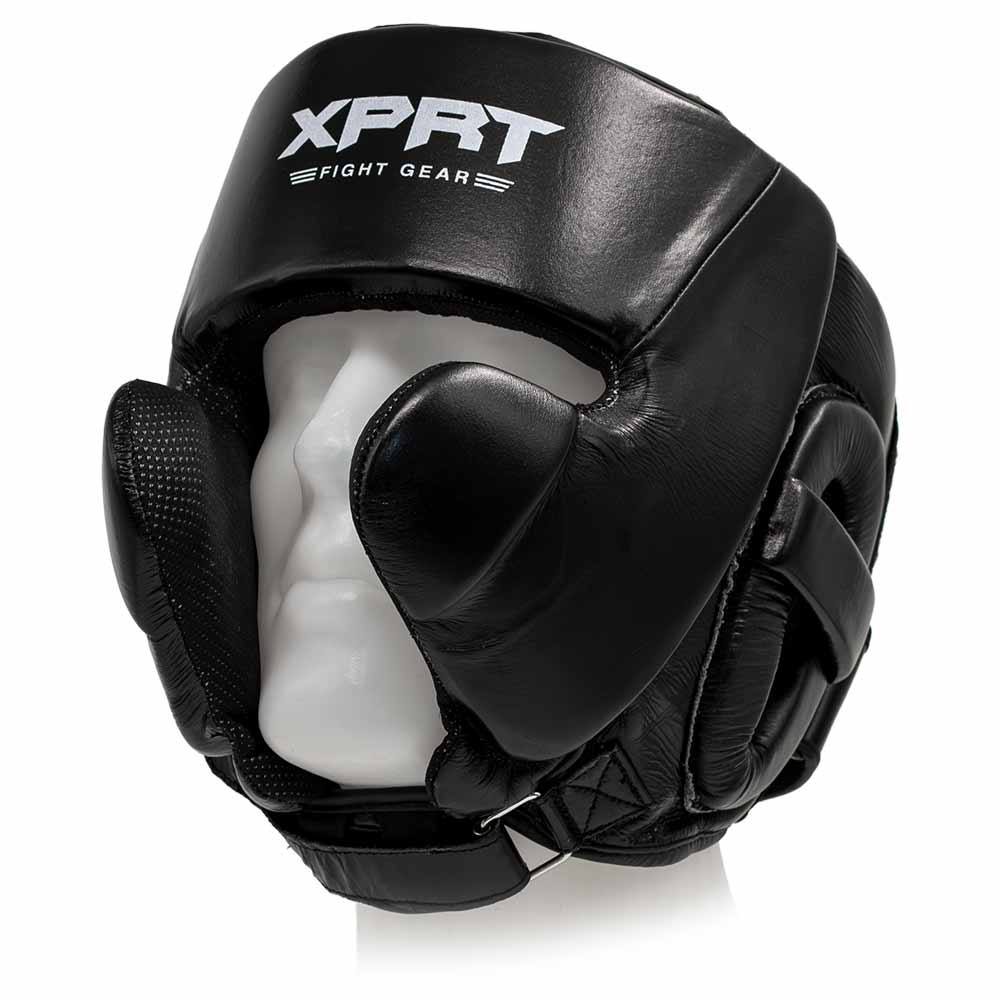
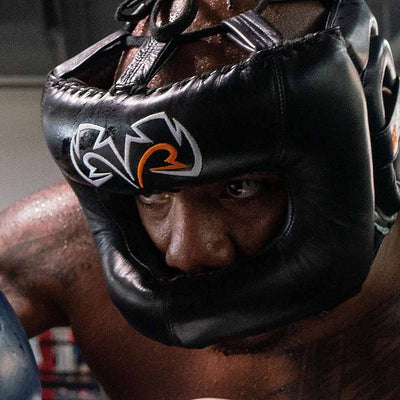
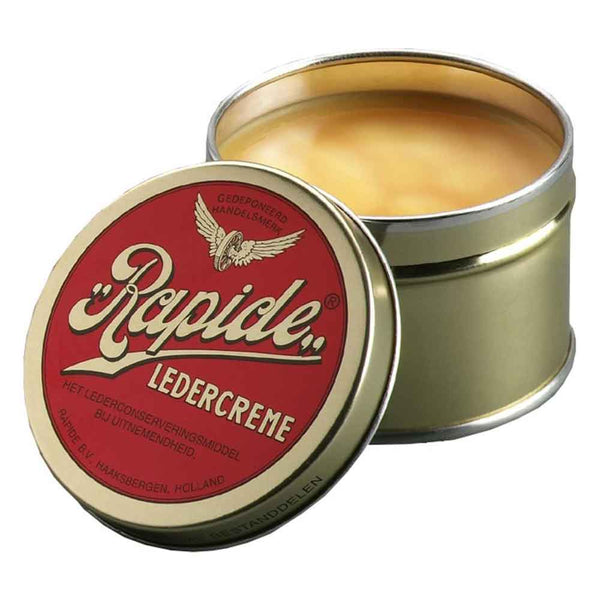
For smooth leather headgear, tailor exterior care to the finish and the care instructions. The Rival HG30 and XPRT XHG10 have leather exteriors, but leather alone does not determine which product is suitable. Rival recommends cleaning and drying its equipment without oils or heavy creams. Follow that Rival routine for the HG30. A thin application of Rapide Original is suitable only for smooth leather that can be treated this way.
Test a small amount on an inconspicuous area. Use a soft cloth to spread a thin layer over the smooth leather, let it soak in and wipe away any excess. Keep the cream away from the lining, chin strap, laces, hook-and-loop fasteners and openings. The parts that rest against your face must also stay clean and free of grease.
Our Fight2Win guideline for regular training: check the leather about once a month and apply a thin layer if it feels dry or stiff. If it is still supple and in good condition, skip the extra layer. Do not train with a greasy exterior that rubs off.
Choose your care method based on the material and the model’s care instructions. Rapide contains mineral oils and waxes, so use it only where that treatment is suitable for the model and its finish.
PU and synthetic microfiber do not need conditioning
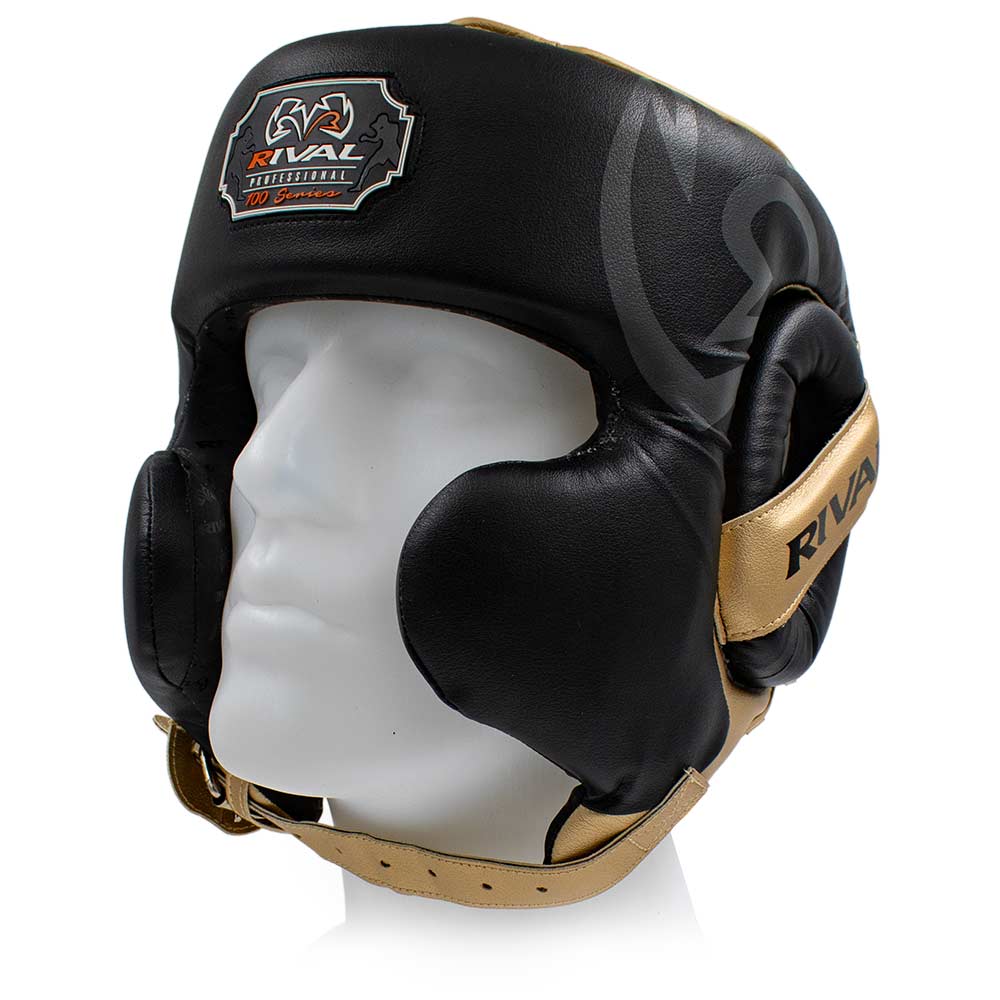
Not all headgear that looks like leather is made of leather. The Rival RHG100 Professional, for example, has a synthetic microfiber-PU exterior. Do not use leather cream on it: wiping it clean with a soft, slightly damp cloth and then letting it dry is the right approach.
Check the material and follow the model’s care instructions. The leather Rival HG30 and synthetic Rival RHG100 are both in the range; for both, follow Rival’s instructions and do not apply cream on your own initiative. Clean the lining, fastenings and exterior carefully, using the appropriate method for each.
Pay particular attention to the material described, not just the appearance or price. If a model has a leather exterior and a microfiber lining, like the XPRT XHG10, apply the cream only to the smooth leather on the outside. Do not apply it to the microfiber lining.
Dry without a hair dryer, sunlight or heating
Let your headgear dry at room temperature in a clean place with plenty of air circulation. Keep the fastenings open and its natural shape intact. Do not place it with the damp lining pressed against a wet towel, and do not stuff clothing into the opening.
Do not use a hair dryer, radiator, tumble dryer or direct sunlight to speed up the process. Do not leave the headgear behind a windshield or on a hot windowsill either. A dry spot indoors is not the same as the warmest spot you can find.
Before your next training session, use your hand to check the lining around the chin, cheeks and back of the head too. An exterior that feels dry isn't enough. If those contact surfaces are still damp, let them dry further. Air out your headgear right after training rather than just before you need to leave again.
Keeping Velcro, laces and the chin strap in good condition
Hair and lint can get caught in the hooks of Velcro. Remove them carefully with your fingers or a soft brush. Keep the material flat and don't pull hard on loose threads. There's no need for a harsh metal brush.
Wipe the chin strap and accessible parts of the fastenings with a slightly damp cloth and let them dry. Then check that the Velcro still holds and the fastening doesn't come loose. If it has a lace-up adjustment, also check for fraying, damaged ends and loose seams around the lace loops.
Fasten clean, dry Velcro before storing it to protect other fabrics. Distinguish between dirt and wear: you can remove lint, but extra cream, spray or pulling it tighter won't make a worn fastening reliable.
Tackling odors and keeping shared headgear clean
If there's an unpleasant smell, don't start by covering it with a stronger scent. Take the headgear out of your bag, clean the contact surfaces carefully and let everything dry completely. Check that you haven't missed the chin strap, cheek pads or edges at the back of the head.
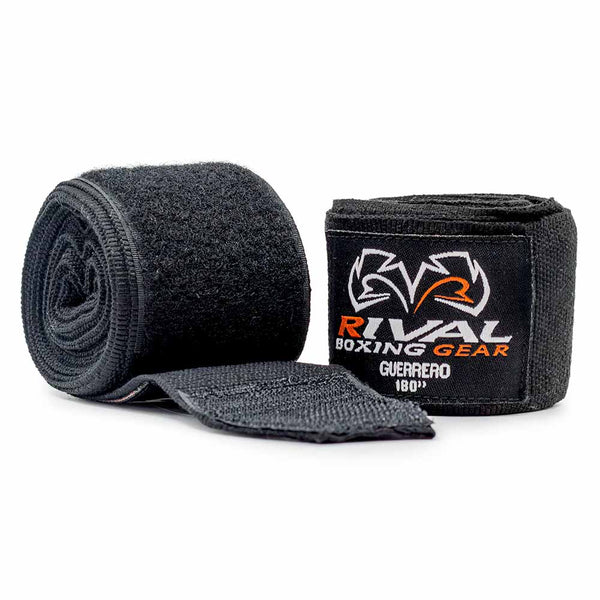
Store your headgear separately from damp clothing and used handwraps. A suitable care spray for the inner lining is a practical addition to this routine. Using more and more product won't make up for storing the headgear damp after every training session.
If you use shared headgear, clean the contact surfaces between users and let it dry thoroughly before someone else wears it. A quick wipe of the front with a towel isn't a complete cleaning. Don't pass wet or visibly dirty headgear straight on to the next athlete.
Having your own headgear makes it easier to keep track of its fit and care, but you still need to clean it. If the lining continues to smell strongly despite careful cleaning and drying, assess the condition of the material instead of repeatedly masking the problem with spray.
Check before every training session: when should you stop using it?
Before you start sparren, check the fastenings, seams, exterior and padding. Feel whether the shape is still even and check that no padding is exposed. A good-looking exterior doesn't tell the whole story: you need to be confident that the chin strap, rear fastening and surrounding seams are secure.
Stop using it if the padding is exposed, load-bearing seams are torn, the padding is permanently and severely compressed or misshapen, or a fastening no longer stays closed. Extra leather cream, spray or a tighter knot in the laces will not fix these problems. Clearly damaged headgear should not go through even one more sparring round.
Does the headgear slip? Clean the inner lining and check the size and adjustment before you continue training. It must not obstruct your vision. If it keeps slipping despite proper adjustment or the fastening no longer holds, do not use it for sparren and choose a suitable replacement.
We do not base replacement on a fixed number of months. Check it before every training session and assess its actual condition and fit. Heavy use makes these checks especially important, but you should also carefully inspect an older model that has seen little use.
Transport it clean and store it with room to breathe
You can carry the headgear in your gym bag for the trip home. Take it out as soon as you get home. The bag is for transport, not for drying a still-damp lining. Keep used clothing and wet handwraps separate as much as possible.
Store it only when it is clean and completely dry, without flattening it under other gear. A dry shelf or a well-ventilated spot where it keeps its shape is fine. Do not leave it in a hot car, damp basement or closed bag for long periods.
When you pick it up again after a break from training, check the fastenings, seams and fit again before sparren. You do not automatically need to apply more leather cream just because it has not been used for a while. Treat smooth leather only when it actually needs it.
Conclusion: clean, dry and ready for your next training session
Caring for headgear does not have to be complicated. After every training session, wipe away sweat and dirt, clean the inside and outside with a soft cloth, and let the lining dry completely. Keep laces and hook-and-loop fasteners clean, and check before sparren that everything is still securely fastened.
Apply a thin layer of leather cream only to a suitable smooth leather exterior. Do not use leather grease on PU, synthetic microfiber, the inner lining or fastenings, and do not use Sukkiri or FreshKO on the outer material. Do not use a washing machine, tumble dryer or immersion as a quick fix.
The final step is always the same: check not only whether the headgear smells fresh, but also whether the lining is dry, the fit is right, and the material and fastenings are intact. If there is clear damage or the headgear does not stay in place, do not use it for sparren.