Good headgear adds cushioning, coverage and comfort to your sparring gear. The padding forms a cushioned layer around parts of your head and face and helps reduce cuts in the areas it covers. With the right design, you can combine that protection with good visibility and freedom of movement.
Boxing research shows favorable results in impact tests and in certain measurements taken immediately after a bout. Below, you can read what those findings mean and how to choose between an open-face design, cheek protection and a facebar. We also cover fit, materials, fastenings and care, so you can choose headgear that suits your training.
What headgear adds to your training
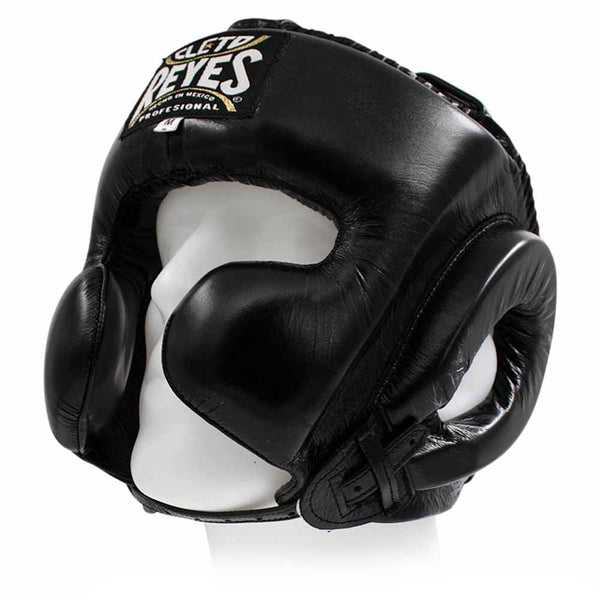
Headgear gives you a padded layer around parts of your head and face during contact training. That padding cushions contact in the areas it covers and creates a more comfortable barrier between your skin and a glove. Its design determines where the protection sits: around the head, extending along the cheeks, or with a bar in front of the face.
One clear benefit is protection against facial cuts. A 2025 publication in Sports Medicine - Open discusses research on amateur boxing and finds support for using headgear specifically to prevent this type of injury. Together with the favorable impact-absorption results from laboratory research, this provides a solid basis for carefully comparing headgear.
In practice, you want to combine that coverage with good visibility and a secure fit. You need to be able to track your opponent, keep your guard up and move your head while the headgear stays comfortable. That is why you should assess protection, comfort and adjustability together. Headgear is a supplement to controlled sparren; it does not guarantee protection against a concussion.
What the boxing research shows
Researchers study headgear in different ways. They compare injuries during matches, measure how a test dummy responds to an impact, or test athletes before and after a bout. These studies complement one another, but they do not all answer the same question.
An interesting boxing study was published in Retos in 2024. Fourteen adult male amateur boxers each completed one bout with headgear and one without. Before and immediately after the bouts, they took a balance test and tests of attention and information processing, among others. The researchers found better balance and attention test results with headgear. They found no clear difference in the memory tasks they measured.
What makes this study valuable is that the researchers tested real boxers under both conditions. The results concern immediate balance, attention and memory tests in a small group of adult men. The study did not establish the rate of clinically diagnosed concussions or long-term effects. This lets you assess the favorable results for what they actually show.
The 2025 article adds a broader perspective. It discusses both protection against facial cuts and the uncertainties surrounding concussions. In comparisons between competitions, several rules sometimes changed at once. Also, competition stoppages were not always distinguished in the same way from confirmed concussions. As a result, you cannot attribute every difference directly to wearing or not wearing headgear.
Together, these studies provide a useful picture of different benefits: protection against facial cuts, measured impact cushioning and favorable immediate test results. Each type of study highlights a different aspect of head protection. When choosing, you can combine this general evidence with the design and fit of the model.
Impact cushioning: why the point of impact matters
An impact test reveals what you cannot reliably assess by hand. Researchers use a measurable, repeatable punch and observe how a head model moves. They can measure both acceleration in a straight line and the head’s rotational movement.
A 2026 study in Discover Applied Sciences compared three TOPKING designs: an open model, a model with more facial coverage and a similar design with extra padding. The punching machine was calibrated using data from young Muay Thai boxers. The headgear was then compared on a test dummy with an adult head-and-neck system.
At the forehead and temple, the researchers found favorable cushioning effects, with differences depending on the design and the movement measured. The results were not the same across the board. At the chin, they found no significant reduction in the measured linear and rotational acceleration. The study also showed that more coverage did not automatically deliver the best performance for every outcome measured.
In practical terms, the distribution of the padding and where the blow lands matter. The study examined three models from one brand in one size under specified test conditions. The adult head-and-neck setup and the calibration using youth punches are separate parts of the method; the results describe the setup tested.
An impact test helps you understand why the overall construction matters. When shopping, compare the placement of the padding, stability and how it feels to wear. The measured accelerations are laboratory results, not clinical risk percentages for individual models sold in stores.
Open face, cheek protection or a facebar?
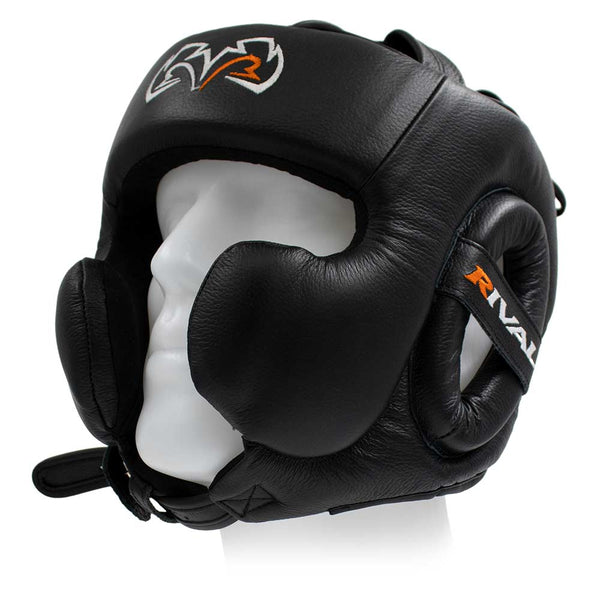
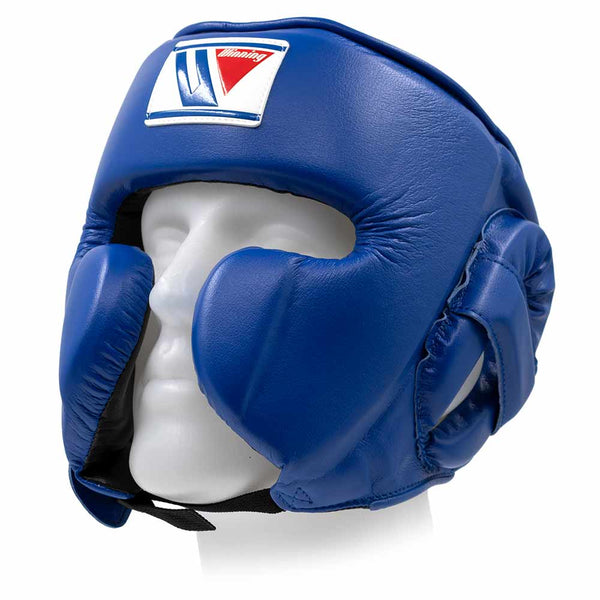
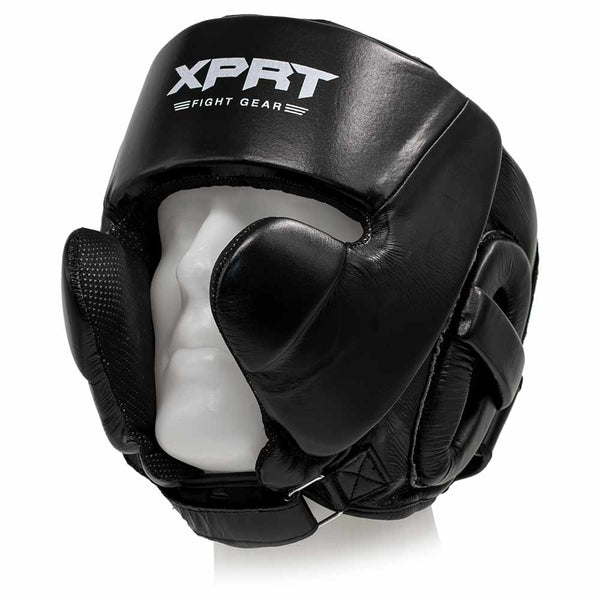
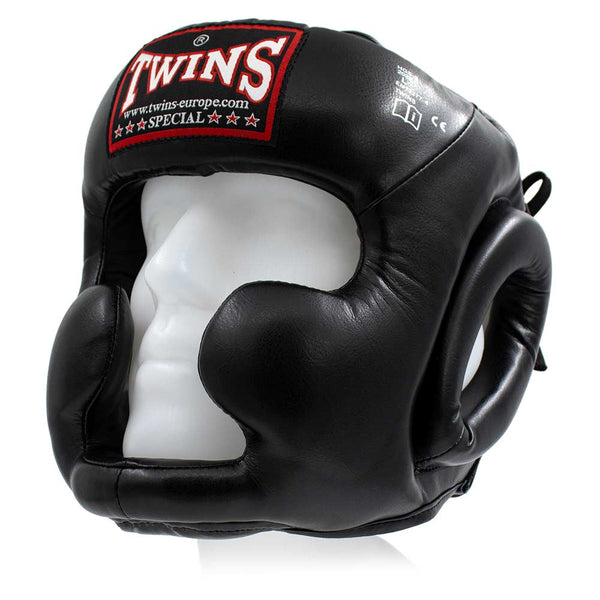
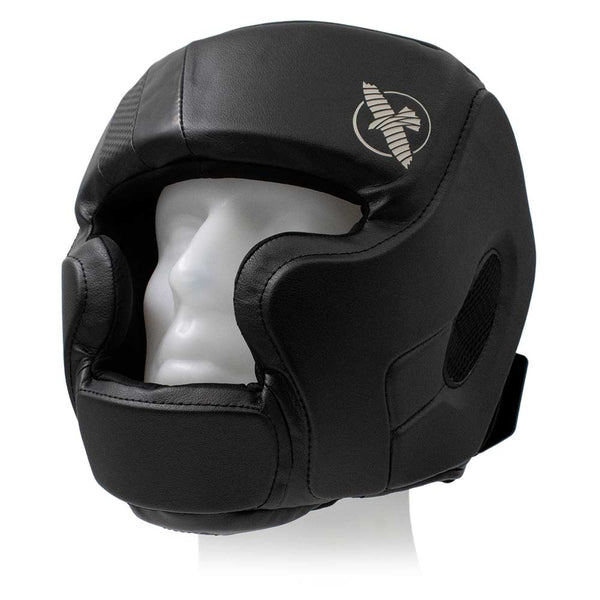
When choosing, you will usually come across three recognizable designs. The difference lies not only in the amount of padding but also in where it is placed. So look at the construction first, then at how it fits your head.
An open model suits those who prefer to leave most of the face uncovered. Compare the width of the forehead band, the eye opening and the adjustability. Together, these determine how the model sits on your head and how much room you have to look forward and to the sides.
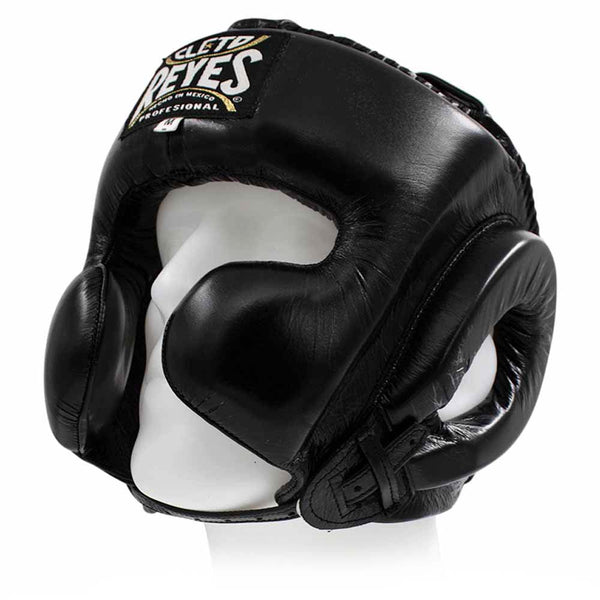
Cheek protection adds coverage to the sides of the face. For many users, the choice comes down to balancing that extra coverage with a comfortable opening to see through. Check that the cheek sections sit well against the sides of your face, without uncomfortable pressure or sitting where the padding keeps getting in your line of sight.
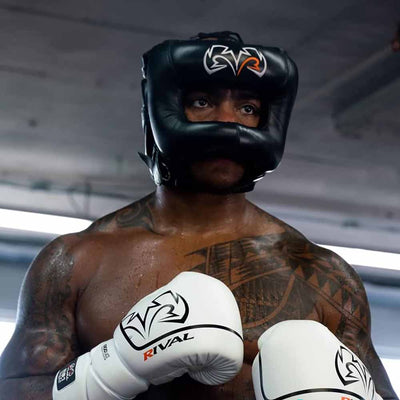
A facebar adds a bar in front of the face. This design creates space between the bar and parts of the face and has a distinct feel when worn. Compare the distance between your face and the bar, the width of the viewing opening and how the entire model fits. The bar provides protection in one area; the opening remains part of the design.
Pay attention to terminology too. A manufacturer may call headgear with cheek and jaw padding full face even if it is not a facebar model. So you cannot simply equate the full-face versions in the 2026 study with every piece of headgear that has a bar.
Good visibility and a stable fit go hand in hand
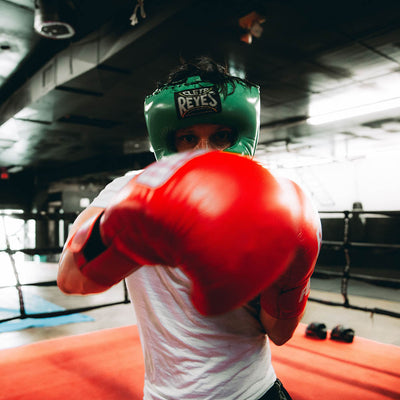
Good visibility helps you track distance, direction and movement while sparren. So assess the eye opening from your normal stance: chin slightly down, hands up in your guard and eyes on your opponent. The position of the forehead band and any cheek guards should feel comfortable in that stance.
When trying it on, take a moment to look ahead, to the side and diagonally downward. Turn your head, bring your guard up and make slow shadowboxing movements without contact. This lets you feel how the headgear moves and see whether your view stays clear when you change your stance.
Visibility and stability go hand in hand. A model that stays in place gives you a consistent field of view. That makes it easier to focus on your training instead of straightening your equipment. Compare different shapes on your own head: the most comfortable opening also depends on how the model sits and how it is adjusted.
The right size starts with the model's instructions
Use the size chart for your chosen model as a starting point. Measure your head circumference as the manufacturer instructs and compare it with the available sizes. This gives you a model you can adjust for a comfortable, precise fit. Size labels can vary by brand and model.
Put the model on according to the instructions and adjust its fastenings. Some designs use hook-and-loop fasteners, others use laces or a combination. Not every adjustable part serves the same purpose: the fastening at the back of the head, the top and a chin strap can each affect the position.
A good fit feels even and stable. Adjust the different parts step by step, checking the position as you go. Aim for a comfortable, secure fit around your head, with enough room at the eye opening and ears. Persistent pressure points or shifting are practical signs that you should try a different size or shape.
Also consider how you wear your hair during training. Try it on with a similar hairstyle and check its position again if your hairstyle changes. Ultimately, it is the combination of size, head shape and adjustment that matters, not just the number on the measuring tape.
Six checks before you start sparren
A quick check helps you start the contact round comfortably and prepared. Go through these six points when putting it on, and check its position again between rounds.
- Check the design. Choose a model that suits your training and equipment requirements. For competition use, check the current rules for your category.
- Put the headgear on correctly. Follow the model's instructions and check the position of the forehead band, any cheek guards and the fastenings.
- Adjust it step by step. Use the available adjustments to distribute the fit evenly. Aim for a comfortable, secure fit around your head and at the chin strap.
- Check your vision. Look ahead, to the sides and diagonally down from your normal stance. Your view through the eye opening should remain clear and comfortable.
- Move without contact. Turn your head, raise your guard and shadowbox briefly. Check that the headgear stays in place.
- Check its condition. Inspect the seams, padding and fastenings, and if it has a facebar, check the bar's position. Use an undamaged model with fastenings that work properly.
You know you are well prepared when your headgear stays comfortable as you look around and move. Make any adjustments gradually across the fastenings, and repeat the movement check before you start sparren.
Technical sparren with well-fitting protective gear
Comfortable, well-fitting headgear helps you stay focused during sparren. When the padding, fastenings and eye opening are properly positioned, you can focus on your opponent, distance and timing. That is the practical value of gear you have carefully chosen and adjusted beforehand.
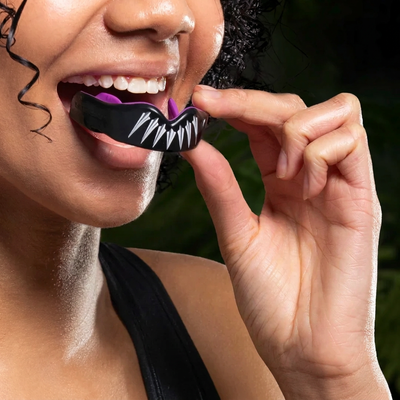
Give each round a clear purpose: practice technique at a relaxed pace, sparren with a specific goal or prepare more intensely for a competition. When you share the same expectations about pace and contact, you can train together with a clear focus. Your headgear is part of that preparation, along with suitable gloves and a mouthguard.
Stay active with your footwork, guard and head movement. Those skills and your protective gear complement each other. Between rounds, briefly check that the headgear is still in the same position and that the fastenings are secure, especially if you sweat a lot.
If the headgear shifts during a round, pause to readjust it. If you have symptoms after a hit, stop training and seek medical assessment. Keep the level of contact appropriate for the agreed training format.
Training and competition have different requirements
For training, choose headgear based on the type of sparring, the coverage you want and how comfortable it feels. For a competition, start with the current rules. They determine whether headgear is used and what requirements it must meet.
Even within boxing or kickboxing, requirements can vary by organization, age group and type of competition. For the event in question, check the rules on the model, construction and any required approval. That way, you can choose headgear suited to how you intend to use it.
A facebar and a model with cheek protection, for example, have different designs. For sparring, you can compare these differences in terms of space, visibility and comfort. For competition, first check which designs are permitted in your category, then try on suitable models.
The debate about headgear in amateur boxing is part of the research background. For your participation, the current rules of the organizing federation or event remain the starting point. Treat your training preferences and competition requirements as two separate uses.
Junior headgear: size, comfort and use
A well-fitting junior model suits the young athlete’s head size, comfort needs and training format. Start with the sizing and usage information for that version. Pay as much attention to the proportions of the forehead band, cheek sections and eye opening as you would for adults, but on a head the model is actually designed for.
Check the position while moving gently without contact. Can the athlete look forward and to the sides? Does the headgear stay in place when the head turns and the hands move into guard? A comfortable fit and easy-to-use fastenings make preparation straightforward.
Use the model within the training format and rules for the relevant age group. The 2026 impact study used youth punches for calibration and an adult headform for the laboratory tests. The measurements provide information about that setup, not about the safety of head contact for children. Assess size selection and age-specific training rules separately.
Materials and fastenings: comfort in the details
The outer covering, lining and padding together determine how the headgear feels to wear and how you care for it. Leather has its own flexibility and care requirements; synthetic leather and other synthetic coverings also have properties specific to each model. Compare the overall construction for comfort and finish.
Check which surfaces touch your skin and how the seams are finished. Feel whether the lining fits comfortably and wear the model long enough to notice any pressure points. The placement of the padding around the forehead, cheeks and ears determines where you get coverage and how much room remains inside the headgear.
The fastening makes adjustment straightforward. Velcro is quick to open and refasten; a lace-up design lets you fine-tune the fit. Some models combine different systems. Check how the back, top and chin strap work together on the model you're trying on.
If your headgear has a facebar, check the bar's position too. Look at the space around your face and how stable it is when you move. Keep the structure in its original shape and use the built-in adjustments according to the instructions for your model. A damaged or deformed bar is a reason not to use the headgear for contact training.
Cleaning after training: simple and model-specific
A quick care routine keeps your headgear pleasant to put on again. Take it out of your bag after training, remove sweat and dirt as instructed, and give the inside time to dry. Making this part of packing up turns it into an easy habit.
Start with the manufacturer's care instructions. The outer covering and lining may need different treatment. If a slightly damp cloth is permitted, use it to carefully wipe the relevant surfaces. Use only a cleaning product suitable for the materials of that model.
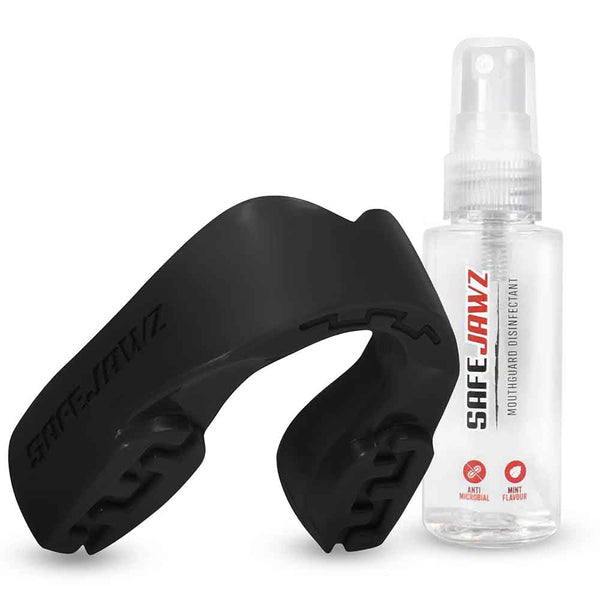
A suitable cleaning spray can be a useful addition. Check the packaging to see which materials it is intended for and how to apply it. For a disinfecting product, also follow the instructions on dosage, contact time and any follow-up treatment. Clean according to the instructions for your model first, then follow the steps for your chosen product.
Take care of the areas around seams and fastenings too. Remove fibers or dirt from Velcro as instructed, put laces neatly back in place and check that any buckle or snap fastening works smoothly. Treat removable parts separately if the manufacturer provides specific instructions for them.
Combine cleaning with a quick inspection. That way, you can spot a loose seam, worn fastening or shift in position early. The care table below helps you check the different parts systematically.
Drying, storing and knowing when to replace it
Drying your headgear thoroughly gives it a fresh, comfortable start for your next training session. Follow the instructions for your model and choose a well-ventilated spot. Let the inside and any surfaces that can be cleaned dry fully before storing it for an extended period.
Then give the headgear its own place among your equipment. A well-organized gym bag is practical for transport; at home, you can store the headgear without anything pressing on it. Keep heavy items off the padding and, if it has a facebar, make sure nothing puts pressure on the bar. Avoid direct heat when drying it.
Make storage a regular opportunity to check it. Inspect the seams, outer material, padding and fastenings. Look for tears, loose connections and permanent deformation. On a facebar model, check that the bar is in its original position and securely attached.
Consider how it feels to wear, too. Once properly adjusted, headgear should still fit comfortably and stay in place. If the fit has changed or the model keeps shifting, reassess its size, condition and fastenings before sparren.
Follow any replacement instructions from the manufacturer, and replace damaged or permanently deformed equipment. Training frequency, materials and care vary from person to person, so assess the condition and fit of your model together. If you are unsure whether it is damaged, have the headgear checked before using it for contact training again.
Conclusion: protection that fits and feels comfortable during training
Well-fitting headgear is a valuable addition to your sparring equipment. Its padded construction adds cushioning and coverage in the areas it is designed to protect. Protection against facial cuts is a tangible benefit; boxing-specific impact tests and a small study involving amateur boxers also provide relevant information about cushioning and immediate test outcomes.
Then make your choice more concrete. Compare open-face, cheek-protection and facebar models based on where they provide coverage. Try on the right size, adjust the fastenings carefully and assume your usual stance. A comfortable fit, clear vision and a stable position all make a difference when you wear it.
Make care a regular part of your post-training routine: clean it according to the model’s instructions, let it dry thoroughly and check the seams, padding and fastenings. Pair the headgear with suitable gloves, a mouthguard and the hand protection you find comfortable. That way, your equipment works together for the sparring you want to do.
The best combination is protection that fits, feels comfortable and supports your technical training. The buying guide lets you compare specific models in more detail. The category overviews below then help you find headgear and complementary equipment that work together.