You can’t judge a good kick by the impact on the pad alone. You’re at the right distance, rotate freely through your hip, hit your target and are immediately ready for your next move. That combination is what makes kicking technique interesting: a small improvement in your footwork can do more than swinging your leg even harder.
In this article, we cover seven practical points for kickboxing. The rear-leg roundhouse kick is the focus, with applications for low kicks and body kicks. A front kick or teep travels in a different direction, so it doesn’t require exactly the same hip rotation. For each drill, choose one kick and one clear target.
Here you’ll find practical guidance for bag training, pad work and controlled partner drills. You’ll also get a straightforward training plan and a short checklist to review your own technique. The goal is a kick that’s ready faster, lands better and leaves you in a workable stance.
1. Make distance and balance part of your kick
A roundhouse kick starts before your leg leaves the ground. From your normal kickboxing stance, you should be able to step, defend and kick without resetting your feet first. Don’t stand with your feet on one narrow line, and distribute your weight so you don’t need a big preparatory movement for every kick.
Distance determines which part of your leg reaches the target. If you stand too far away, you’ll often reach, fall forward or try to catch the target with your toes. If you stand too close, it becomes hard to rotate your hip freely and land with the intended striking surface against the bag or pads. So move your body into a workable position first, rather than trying to make up for every distance with a longer leg swing.
A small step out can help with that. For a rear-leg roundhouse kick, your front foot can step slightly outward to make room for the turn. How far and in which direction you step depends on your stance, the target and the kick you choose. Don’t make it a big step by default: stepping out farther than necessary takes time and can give away your intention.
Drill: strike, recover and check
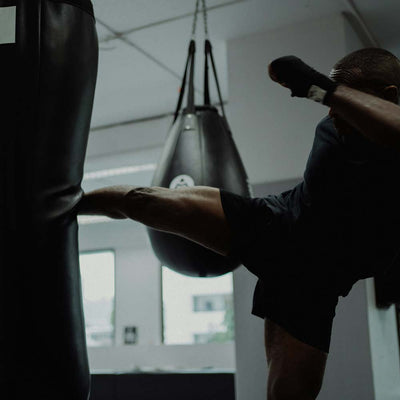
Choose a recognizable spot on a stationary punching bag. Throw one controlled kick, land back in your stance and take a small step to the side. Can you take that step right away, without wobbling first or bringing your feet together? Then you have a useful checkpoint. Repeat a few times from the same distance, and only then change your starting position.
Use a mark on the floor only as a guide to your starting distance. It is not a spot where your supporting foot must stay during every kick. A good starting position gives you room to move.
2. Rotate your supporting foot and hip together
Your supporting foot is not an anchor that keeps your lower body still. During a roundhouse kick, your hip needs to be able to rotate. To allow this, pivot your supporting foot in a controlled way on the ball of the foot while your leg and torso follow the movement. Do not force your hip farther around while your foot stays stuck to the floor.
First, feel how that rotation works without much force. From your stance, shift your weight onto your supporting leg, make room for your hip and return calmly. The aim is a fluid connection, not a separate foot trick you perform before every kick. Once your leg moves, your foot, hip and torso should be part of the same action.
How far you rotate depends on the kick, target height and distance. A low kick and a high roundhouse kick do not necessarily call for the same finishing position. There are also different techniques within kickboxing and Muay Thai. So do not use a fixed rotation angle as a universal rule. Check whether the rotation helps you make accurate contact and stay in control afterward.
From feeling the movement slowly to a complete kick
First, practice a relaxed roundhouse kick at an easily reachable height. Focus on pivoting your supporting foot and letting your hip follow. Then add a light kick to the bag. Keep the effort low enough to feel where the rotation flows smoothly and where you tense up.
In a 2017 biomechanics study by Gavagan and Sayers, experienced practitioners from three martial arts showed shared movement patterns, including rapid pelvic rotation and movement of the body toward the target. This offers an interesting explanation of how the parts of a kick work together. The researchers measured high kicks against a fixed target; their results do not prescribe a rotation angle for your low kick.
3. Strike with a plan and keep your guard up
Before the drill, decide where and with what you want to strike. For many roundhouse kicks to the body or leg in kickboxing, the shin is the intended point of contact. With other types of kicks, distances and technical styles, the point of contact may differ. Match your chosen point of contact to the right distance and a suitable training target, rather than just watching whether the bag moves.
A punching bag can swing quite far from a pushing motion. That doesn’t automatically make the exercise good or bad, but it doesn’t tell you exactly how sharp your kick was, either. Also pay attention to where you make contact, the path of your leg and your posture afterward. A targeted kick that you can recover from smoothly is a good starting point for building speed.
Your arms help with balance and defense. During a round kick, the arm on the kicking side can move with the kick while the other hand stays by your head. Keep that arm movement controlled and suited to the technique. Dropping both hands to gain extra speed leaves you with more work to do to regain your position after contact.
The end of the kick is part of the technique
After contact, bring your leg back to a usable position. Sometimes you return to your original stance; sometimes the combination calls for a different landing or another step. Practice this deliberately. Don’t make your return depend on whether you happen to hit the bag just right.
Also practice without making contact now and then, at low intensity and with plenty of space. This lets you see whether you can complete the movement on your own. That’s different from kicking through the air as hard as you can and snapping your knee straight. Keep the exercise controlled and choose a height at which you can manage the full movement.
4. Build range of motion you can actually use
For a comfortable kick, you need both range of motion and control. It helps to be able to move your hip freely, keep your supporting leg stable and guide your kicking leg along the intended path. Being able to stretch farther is not the same as being able to kick better.
Start your training with gentle movement and gradually increase the intensity. Think light footwork, controlled hip movements and low, relaxed kicks. Leg swings can be part of this, as long as you keep them measured. Use the warm-up to feel which height you can reach smoothly and with control today.
Then choose a target height that you can reach without forcing it. A clean body kick is a valuable technique in its own right, not just a stepping stone to a high kick. Increase the height when your balance, hip rotation and return all work together. If you have to lean much farther back for every higher kick, that’s a sign to work on your technique at a lower height first.
Exercise: the same path at two heights
Do a short series of relaxed kicks at a low height, then repeat them on a slightly higher target. Compare your starting position, the pivot of your supporting foot and your landing. Keep the difference small enough to compare the movement. This way, you train an adjustment you can really control.
You can schedule additional mobility exercises separately from your intensive kicking rounds. Work slowly and gradually increase your range of motion. Sharp pain is a reason to stop the exercise, not a signal to stretch harder. Keep that practical limit in mind and focus the rest of your attention on moving smoothly.
5. Train speed as timing, not rushing
A fast kick lands at the right moment. To achieve that, it helps to train not just the kicking leg but also the setup: a jab, a small step or a response to a presented target. That gives speed a place in a real combination.
Start with a set pattern. From a conventional left-foot-forward stance, for example, you can combine a jab and a rear-hand straight with a roundhouse kick from the rear leg. Mirror this if you stand the other way around. Let the punches help you find your range and rhythm rather than coming to a complete stop after the last punch.
Then add a simple decision. A partner holds a pad in a clearly agreed position, and you deliver one targeted kick. Agree on the height, side and force of contact beforehand. The goal is to recognize the target and execute the kick, not to surprise each other with unexpectedly hard contact.
Use the bag's movement
On the punching bag, you can practice with a target that returns at a steady pace. Don't let the bag swing wildly; keep its movement under control. Step into range, kick and recover. Alternate a single kick with a short combination so you learn when to stay in the same spot and when to move.
Keep the sets short enough to stay sharp. If each successive kick becomes more rushed, choose a simpler task: one clean kick, a full return to position, then start again. A faster pace is useful when your form stays consistent.
6. Support your technique with strength and relaxation
Strength training can support your physical foundation for kickboxing. Exercises such as squats, split squats, hip hinges and suitable core exercises give you different ways to train your legs and torso. Choose a form and load you can control, and build up gradually. More weight is one training variable, not the only goal.
Connect your physical foundation to the kick itself. A stronger body still needs to learn to move at the right moment and make precise contact. Alternate strength training with technical kick practice rather than expecting a new strength milestone to automatically produce better kicking technique.
Relaxation deserves just as much attention. When you tense your shoulders, fists, and hips as much as possible before the kick, the whole movement often feels heavy. Start a technical sequence with calm breathing and let the movement build. Breathe out briefly as you kick, then return to a mobile stance.
Set aside a specific time for explosive work
If you want to practice a few fast or powerful kicks, do so while you are still fresh enough to control your technique. Choose a small number of individual kicks, with recovery between them. A heavy strength session, a long series that leaves you fatigued, and then maximum-power kicks add up to a different training goal than purely technical work.
Judge progress by several signs. Can you hit the target more accurately with both sides? Do you need less preparatory movement? Can you stay balanced more easily after contact? These are concrete improvements you can track alongside power and speed, without using a spectacular strike as your only measure.
7. Make focus and recovery a training habit
Focused practice works best with a small task. For example, focus on your supporting foot for one round, your guard for the next, and your return to stance after that. You do not have to assess every kick on ten points at once. One focus point also makes it easier to tell afterward what improved.
A short video of yourself can help. Film a few slow repetitions from a safe spot at a slight angle from the front or from the side, without putting anyone in the path of the kick. Look at your starting distance, when you turn, your hand position, and your landing. Compare two recordings of the same drill from the same angle, so you are not mainly judging differences in camera position.
You can keep mental preparation simple and specific. Before the round, picture yourself completing one full movement: stepping in, turning, striking, and recovering. Then use a short cue, such as ‘turn and return’. That gives you a clear focus during the drill.
Stop a technical sequence at the right time
Fatigue can be part of training, but give it its own purpose. For a technique round, you want repetitions that still resemble the movement you chose to practice. If you keep stumbling, forget to keep your guard up, or just reach for the target, take a break or make the drill easier.
Spread intensive kick training across your training week, leaving time to recover. The next session does not always have to be harder or longer. Doing the same exercise with more control, a calmer start and a better landing is progress too.
Bag, pads and protection: give each piece of equipment a purpose
A punching bag is useful for repeatable solo practice. You set your own pace and can work specifically on distance, point of contact and combinations. Use a securely hung bag with enough space around it. Start with control and keep the bag's movement manageable for your drill.
Thai pads provide a target for the holder to present. The pad position can be adjusted to the agreed kick and combination. The person holding the pads also needs good posture and preparation. First agree on which kick is coming and how hard the contact will be. Only then add variety and pace.
A kicking shield provides a larger target for focused kicking sequences. Here too, agree on the height and position before starting. The holder stands firmly, grips the handles securely and positions the shield to suit the chosen exercise. A large shield is a practical training aid, not an invitation to kick at full power without warning.
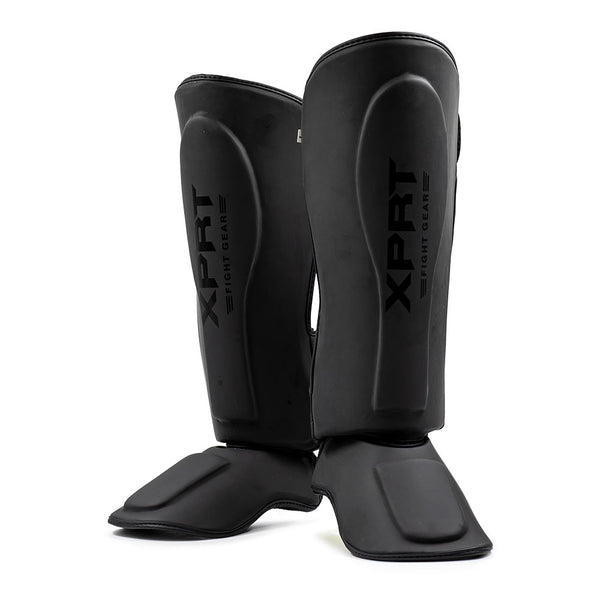
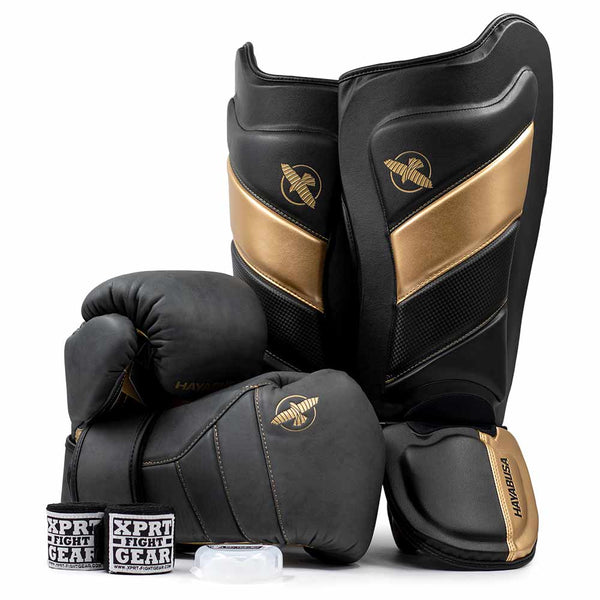
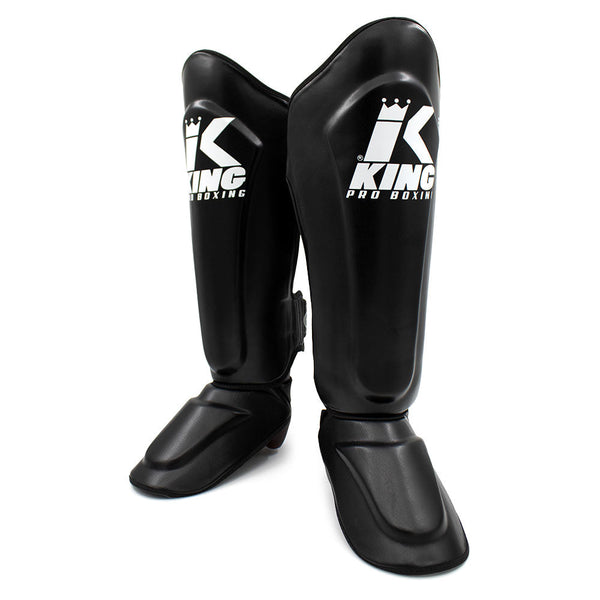
Partner drills and sparren call for well-fitting shin guards and any other protection appropriate for the exercise. Check that the shin and instep coverage fits snugly and that the fastenings stay in place as you move. Kickboxing shorts with enough room to move help you train freely; gloves and a mouthguard provide protection for broader contact work.
After training, wipe down pads, kicking shields and protective gear according to the care instructions, then let them air out and dry thoroughly. Check seams, handles and fastenings before using them again. Care keeps the equipment comfortable to use and helps you spot minor damage sooner.
A practical workout with four focused rounds
The plan below is an adaptable practice example from Fight2Win, not a research protocol. Start with gentle movement and light technique drills. Choose a round length you can maintain with control, such as two minutes per round with one minute of recovery. Shorten the blocks if that suits your experience better.
In the first round, work on individual kicks at a comfortable height. Each repetition has the same goal: hit the target and return to your stance. Give both sides attention without expecting the same pace or height right away.
The second round focuses on your supporting foot and hip. Alternate a slow shadowboxing repetition with a light kick on the bag. Feel whether you can turn freely and check that you can move afterward without an extra recovery step.
In the third round, link a short punch combination to a kick. Keep the combination simple and only increase the pace once your distance and hand position are right. You don't have to repeat the same combination for the entire round; alternate between two familiar patterns.
The fourth round adds movement. Kick, recover and take a small step off the line. Find your distance again before starting the next action. On pads, you can do the same drill with an agreed pad presentation and the holder moving slowly.
Afterward, note one thing that went well and one task for your next training session. This gives your repetitions a purpose. Later, add either more variety, a little more speed or extra round time. By not changing everything at once, you can see more clearly what helps your technique.
Six checkpoints for your next round of kicks
- Choose your distance. Start where you can reach the target with the intended striking surface without leaning forward.
- Make room for the turn. Let your supporting foot move with your hip and feel whether you can turn freely.
- Keep your guard up. Move your arms deliberately and keep your other hand by your head.
- Hit the agreed target. Keep the height, striking surface and force of contact appropriate for the drill and your partner.
- Complete the return. Land in a stance you can use and check that you can immediately step or defend.
- Repeat mindfully. Choose one thing to improve in each block and take time to recover before rushing takes over your technique.
A better kick is a complete movement
Improving your kicking technique starts with putting the pieces together. Distance and stance set you up, your supporting foot and hip create room for the movement, and accurate contact gives the kick a clear target. By consciously keeping your guard up and returning to your stance, you complete the action after impact too.
Use the seven tips as different ways to look at the same technique. Focus on balance in one training session, then on timing or linking punches and kicks in the next. Bag work, pad work and suitable partner drills each give you different feedback.
Keep your practice drills specific and build on them step by step. A kick you can place more accurately with either leg, then move smoothly afterward, is a strong foundation for adding speed, variety and power.