A pair of punching mitts, boxing gloves and someone who wants to train with you: that's enough to set up a focused boxing workout at home without hanging up a punching bag. You practise more than just punching. You also need to choose your distance, recognize a target as it's presented and be ready again after a combination. And once you switch roles, you'll notice how important the person holding the punching mitts is to the rhythm of the workout.
That makes punching mitt training appealing to partners, friends and family members who want to get moving together. But it isn't a contest to see who can punch hardest or remember the longest combination. A good home session starts with clear agreements, simple tasks and a pace you can both manage. Below, you'll learn how to structure the session, what the person holding the punching mitts does and how to build up the exercises step by step.
Why punching mitts work well for training together at home
With a punching bag, you decide when to punch. With punching mitts, a second person presents a target, gives you a task and influences the pace. That makes for a different kind of workout. Sometimes you know which combination comes next; other times, you first have to see which punching mitt goes up. You can keep that variation very simple or use it to add timing and footwork.
The person holding the punching mitts is active, too. You stay balanced, position the target and follow your partner's movements. That takes attention and coordination. If you both want to practise, switch roles regularly. One person doesn't need to spend the entire session just taking punches.
The equipment takes up relatively little storage space. Before training, clear enough space for two people to stand, punch and take a step. Keep away from furniture and walls, and choose exercises you can perform with control in the space available.
What you need for your first punching mitt session
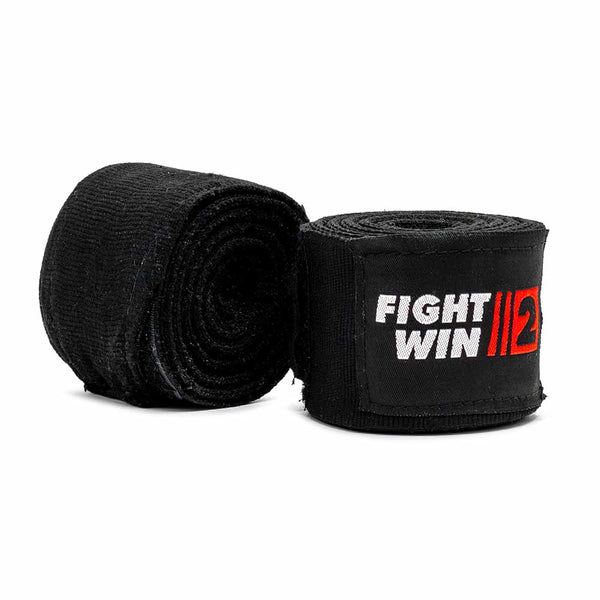
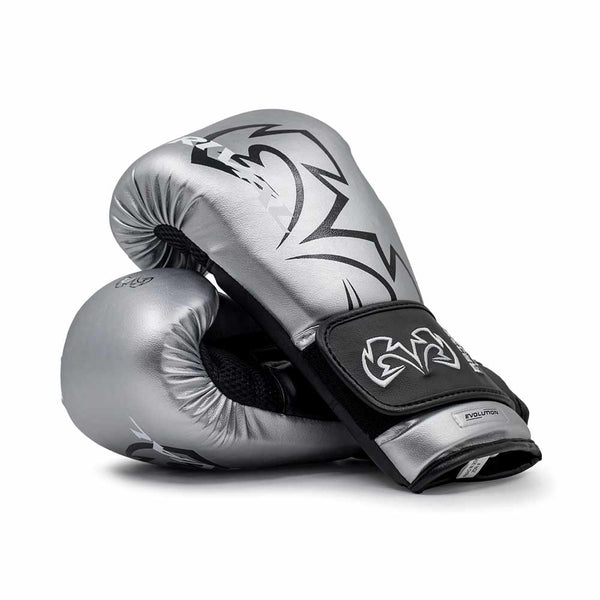
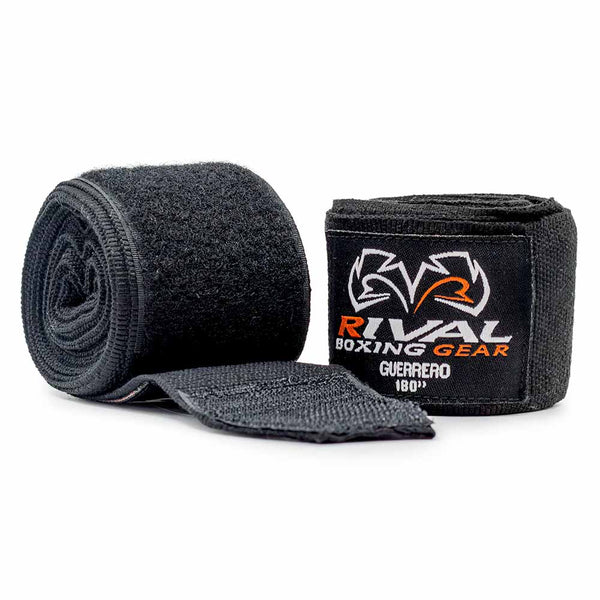
For the punching drills in this guide, use a pair of punching mitts and well-fitting boxing gloves. If you both have gloves, switching roles is easier. You can use Handwraps as you would in your regular boxing training; they don't replace gloves or make poorly placed punches harmless.
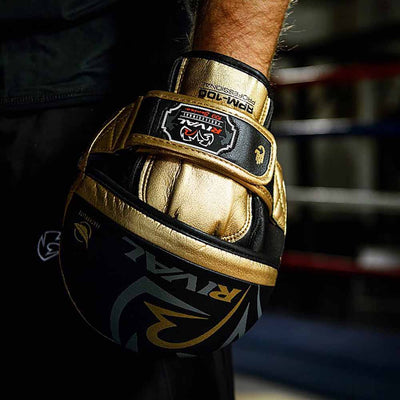
When choosing punching mitts, pay particular attention to how they fit the holder's hands. A hand compartment that lets your hand slide or turn makes it hard to present a precise target. An adjustable strap can help you adjust the fit, but it can't always fix a poor fit. Try the punching mitts on both hands and check your grip before anyone starts punching.
You don't need any other complicated equipment. A timer is useful for alternating between work and rest. Choose clothes you can both move in and a surface you won't slip on. Clear loose items from the training area and first check, without throwing punches, that you can step forward, backward and sideways.
Make the drill clear before the first punch
Agree on what you will practise, who starts and how you will stop the drill. A simple word like 'stop' is enough, as long as you both respond immediately. Start each new drill with a slow trial run: first show the pad position, then throw one light punch, and only then repeat.
Use simple names at first: lead straight, rear straight, lead hook. Boxing terms such as jab and cross are fine if you both know what they mean. Numbers can be useful later, but they add nothing if you have to think about which number goes with which punch during every combination.
This is especially important when you train in different stances. In an orthodox stance, the left side is forward; in a southpaw stance, the right side is forward. 'Lead hand' and 'rear hand' are then clearer than instructions that only say 'left-right'. When switching, have the pad holder calmly present the targets again.
The pad holder sets the pace for a comfortable drill
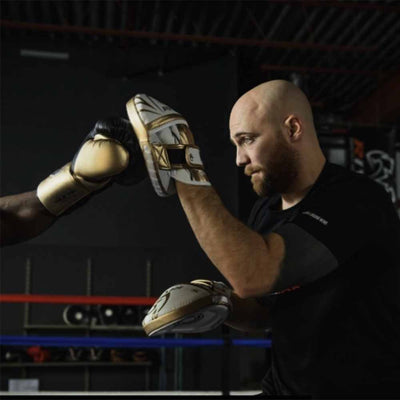
Stand in a stable, relaxed stance and hold the pads at a distance that does not make your partner overreach. For straight punches, present the targets in front of you, at roughly the right head height for the puncher, without placing your own face directly behind the striking surface. Do not lock your elbows or let your wrists bend backward on contact.
The pad should be in position before the punch arrives. Do not pull it away at the last moment or swing it hard into the glove. A small, controlled movement to meet the punch can be part of experienced pad work, but large counter-movements make it harder for beginners to judge distance and power. Start at home with calm, predictable targets.
For a hook, the angle of the striking surface changes. Turn the pad toward the incoming punch instead of holding it in the same position as for a straight punch. Practise that change slowly at first. If the pad keeps twisting, the glove slides off the striking surface or the pad holder loses balance, simplify the drill and reduce the power.
The puncher waits until a target is visibly presented. Do not throw a punch early because you think you know what comes next. This prevents one person from still adjusting the pads while the other has already started the combination. Pain in a hand, wrist or shoulder is not a sign to push harder: stop the drill.
Start with straight punches and a consistent distance
The first drill is a single lead straight punch. The pad holder presents one target, the puncher hits it with control and brings their hand back. After each repetition, take a moment to reset your stance. Check not only whether the pad is hit, but also whether the puncher is still balanced after the punch.
Then add the rear straight punch. Practise it on its own first, then as a combination: lead straight, rear straight, back to the starting position. Don't hold the pads unnecessarily far apart. The puncher should be able to follow their normal punching line, not reach outward with both arms to hit two widely spaced targets.
You know the distance is right when the punch reaches the striking surface without the puncher falling forward. If someone has to keep leaning, reset their foot position or adjust the position of the pads. If the puncher is too close, a straight punch will quickly become cramped. Fix that before increasing the pace.
Three simple exercises to alternate between
- A straight-punch combination with a deliberate pause Practise a lead straight punch and a rear straight punch, followed by a short pause in your stance. Only then does the pad holder present the targets again. The pause makes it clear whether the puncher brings their hands back and keeps their balance. Later, increase the speed of the combination while keeping the deliberate pause between repetitions.
- One step, one punch, then step back out of range Have the pad holder stand just outside punching range. The puncher takes a small step forward, throws a lead straight punch and steps back out of range. Keep the step small enough to maintain your stance. At first, only the puncher moves; once that goes smoothly, the pad holder can make a small adjustment to their position between repetitions.
- Straight punches with a lead hook Add a lead hook to the two straight punches. The pad holder first shows how to turn the third striking surface into position without impact. Then practise the three punches slowly in sequence. This is not a drill where you swing widely around the pad. Keep the movement controlled and reset your stance after the last punch.
Choose one of these exercises for each round. You don't need to do them all back to back. A familiar drill with good repetitions makes for a more effective workout than a long sequence in which both people keep losing track.
A practical home workout of about twenty minutes
The structure below is our practical workout example for two people. Shorten the work intervals or take more rest if you can no longer present and hit the targets with control. The rest period is also a chance to adjust a strap, repeat an instruction or switch roles.
If you mainly want a more intense cardio workout, use short sets of less than a minute with an easier phase in between. Keep the same rules. As soon as fatigue causes the pad holder to position the targets incorrectly or the puncher to start swinging wildly, the set is too long or the pace is too high for that exercise.
Experienced boxers also show how intense pad work can be. In a study by Finlay and colleagues (2020) involving fourteen male elite amateur boxers, average heart rate and oxygen uptake were higher during the pad routine than during the bag routine. Both routines consisted of three three-minute rounds. That tells us something about those specific routines, not how much exertion every home workout involves.
Make it harder without immediately punching harder
Once a set combination is going well, you can change one element. For example, sometimes present a target for just the lead straight punch, and sometimes for the combination of two straight punches. The puncher then responds to the target presented instead of going through an entire round on autopilot.
A second way to build on the drill is to add a small movement between combinations. The pad holder takes a step, both people reset their positions, and then the next instruction follows. Don't turn it straight into a chase around the room. Footwork is only useful when there is enough space and the puncher can find a good distance again.
Change one element per drill, such as the combination, pace, distance or power. That makes it easier to see what works. New punches such as uppercuts require a different pad position. Add them once you can both handle that position and the corresponding punch.
Which punching mitts are practical for this type of training?
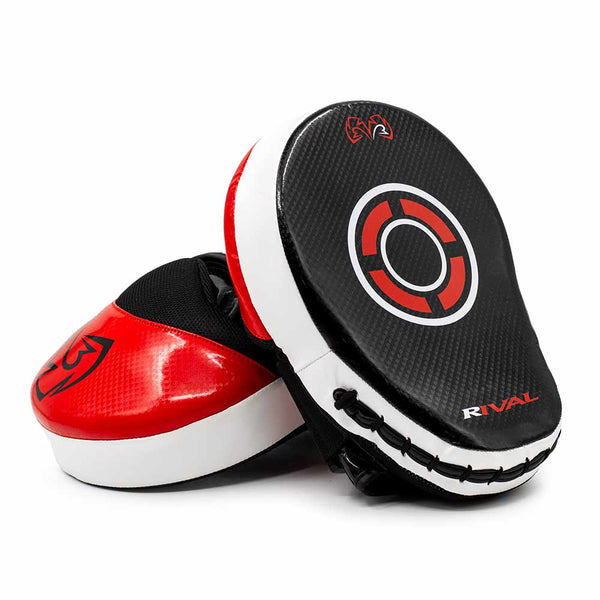
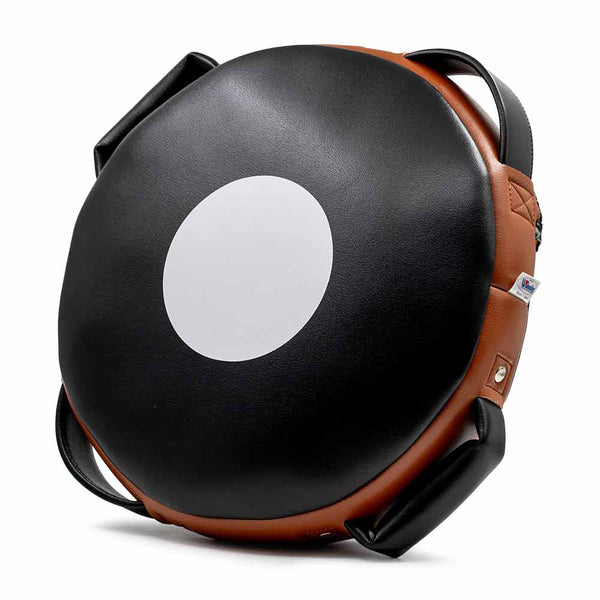
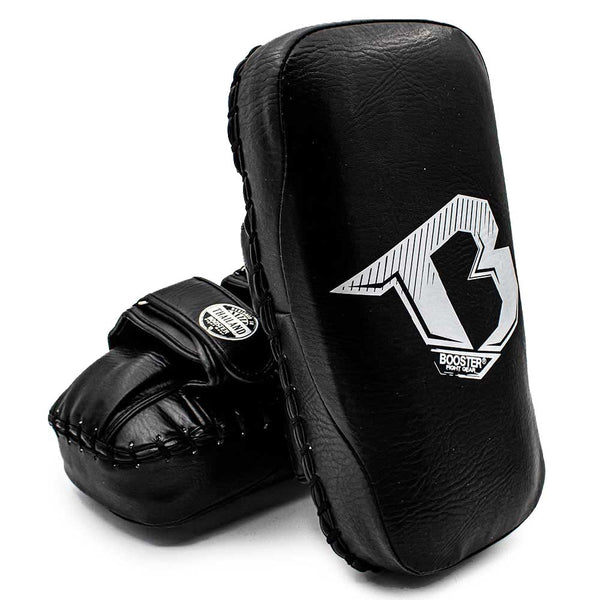
For the drills in this guide, standard focus mitts are a sensible starting point. They let the pad holder present individual targets for punches. Compare the hand compartment, striking surface and closure to find a comfortable fit. Choose a size that suits your level of control: a smaller target takes more precision to present and hit.
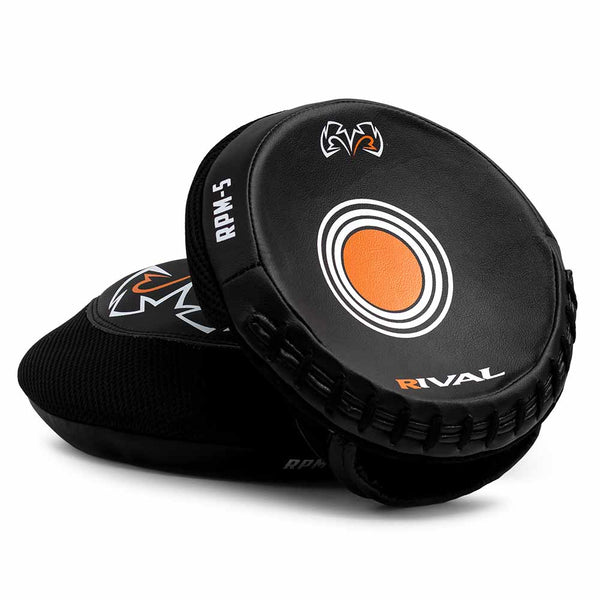
The Rival RPM5 Parabolic has a parabolic striking surface and an adjustable wrist strap. When trying it on, compare how the pad fits your hand and how comfortably you can present the target. The Rival Fitness+ RPM7 combines a curved striking surface with an adjustable hook-and-loop closure. If you regularly switch pad holders, that adjustable fit is worth considering.
The King Pro Boxing Revo 2 also has an adjustable wrist strap and a synthetic leather exterior. The Hayabusa PTS3 Micro is the more compact version of the PTS3, with a pear-shaped striking surface and a hook-and-loop wrist strap. That compact size may suit a pad holder who likes working with small targets, but it is no reason to train closer to furniture.
These models show different sizes and fastening options. Compare how the hand compartment and striking surface suit your hands and exercises. A comfortable fit helps the pad holder present the targets clearly.
Training with your partner, a friend or your child
Start with an exercise both Adults can do. The more experienced puncher adjusts their pace and power to the pad holder. Give both roles time to practise: presenting targets carefully takes its own timing and control, even for someone who is already good at boxing.
Training with children calls for a different approach. Keep it short and playful: hit one clear target, return to your stance and look again. Choose gloves that fit the child's hands and use light punches. Adults should not have a child absorb heavy punches. For a child, one relaxed, enjoyable repetition is more valuable than an adult combination round that moves too fast.
Do not turn pad training into unexpected sparren. The pads are targets, not an invitation to hit your partner or suddenly swing a pad at their face. Defensive drills involving a pad holder and puncher require their own agreements and experience. You do not need them for varied punching practice at home.
What not to practise on regular punching mitts at home
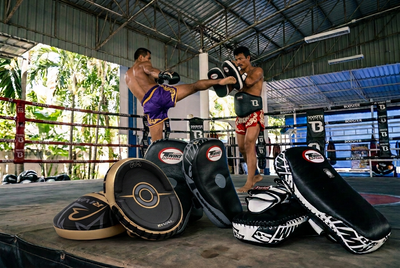
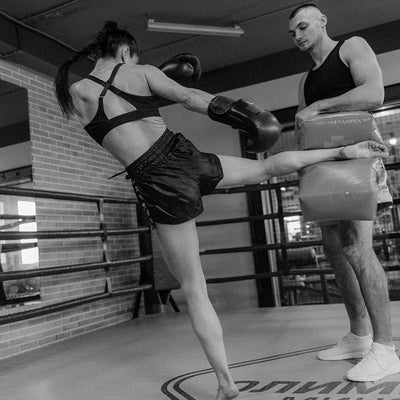
The exercises above build up your punching practice. For kicks and knees, use equipment specifically designed for those techniques, with a pad holder who knows how to receive them safely and with control. Match your equipment to the exercises before expanding your training.
Build up power by presenting and hitting the targets accurately. Keep the pace and impact manageable for both people, especially while the pad holder is still learning. Let your shared control determine when to take the next step.
If you train alone, punching mitts are not the most practical option: you need someone to hold them. Try shadowboxing instead or, if you have a suitable setup, train with a punching bag. Do not improvise by tying punching mitts to furniture so you can hit them.
After training: air out and put away
Include the hand compartment, straps and outside in your post-training routine. Open up your gloves and handwraps to dry, too. The overview below helps you clean, air out, check and store everything in sequence.
Our conclusion: start with one clear task
The best foundation for training together at home is straightforward: enough space, suitable equipment, clear goals and regular changes. Start with one or two exercises you both understand. Only then add another punch, a movement or a reaction cue. That way, pad training remains a shared exercise rather than a series of punches that only the puncher has a say in.