You've wrapped your first handwrap around your hand. But the hook-and-loop fastener is on the wrong side, there's a bunch of fabric in your palm and you can barely close your fist. Sound familiar? Wrapping your hands is mainly about learning the sequence. Once you know it, you can decide much more deliberately where to place the fabric and how much tension feels comfortable.
Below, we'll go through that sequence step by step: wrist, knuckles, fingers, crossing and finishing. The photos show the key positions. You don't have to copy every pass exactly: the width of your hand, the thickness of the handwrap and the room inside your glove all affect what fits. The goal remains the same: a flat wrap that stays in place and lets you make a comfortable fist.
Before you begin: get your handwraps ready
Start with clean, dry hands and two unrolled handwraps. Take off any rings. Put your boxing gloves beside you, because you'll check the fit with everything on. A wrap that feels comfortable without a glove may still take up too much room inside a snug glove.
For a full training wrap, 450 cm is a practical starting point, not a required length for every hand. With a shorter handwrap, you have less length to distribute over your wrist, knuckles and fingers. A longer or thicker version gives you more fabric to fit in. So don't choose based on length alone; consider the material and your gloves too.
Before the first wrap, check how the hook-and-loop fastener will close. Some handwraps have a marking to show which side goes against the skin. Follow it if there is one. If not, look at how the fastener is attached. It's easier to position the roll correctly now than to have to turn it around at the end.
Keep your hand relaxed and your fingers slightly spread. Lay the fabric flat on each pass. With an elastic handwrap, use light, even tension; don't stretch it to its limit on every pass. Wrapped snugly and cutting off circulation are two different things.
- Lay each pass flat. Keep your hand relaxed and make a fist now and then to check the fit.
- Distribute the tension evenly. Use a light stretch to follow the shape of your hand.
- Don't stretch an elastic handwrap to its limit on every pass. A snug fit is different from cutting off circulation to your hand.
Step 1: start with the thumb loop and your wrist
Slip the thumb loop over your thumb. The loop helps you get started; it is not a strap for pulling your thumb tightly backward. From the loop, run the handwrap across the back of your hand toward your wrist, as shown in the photo.
As a starting point, make two or three flat wraps around your wrist. Keep the layers neatly aligned without rolling the fabric into a narrow cord. Use enough tension to keep the handwrap in place, but do not pull harder each time you add a layer.
Check now that the loop is not pulling on your thumb. A mistake at the start will not disappear when you cover it with more fabric later. If the first wrap feels uncomfortable, start again before continuing.
Step 2: spread the fabric across your knuckles
Guide the handwrap diagonally across the back of your hand to the outside edge. Then wrap around the knuckles, just below your fingers. Keep your fingers slightly spread as you do this. This helps you avoid making a tight wrap that only feels comfortable when your hand is open.
Start with two even passes over the knuckles. That is a useful starting point, not a hard rule. A thin handwrap builds up differently from a thick one, and a separate knuckle pad takes up extra space. Spread the fabric across the knuckles instead of stacking every layer in one narrow strip.
Pause to make a gentle fist, then open your hand again. The fabric should not press into the base of your fingers like a hard edge. If the wrap immediately slides forward or twists around your hand, adjust it before moving on to the fingers.
Step 3: guide the handwrap between your fingers
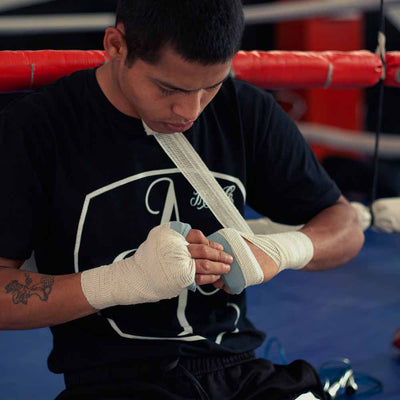
Return to the wrist. Then bring the handwrap across the back of your hand to the gap between your little finger and ring finger. Guide the fabric through that gap, lay it flat across your palm and return to the wrist. Repeat the same way between your ring finger and middle finger, then between your middle finger and index finger.
This is the step where many beginners accidentally twist the fabric into a cord. Keep it as flat as possible and do not pull it tightly into the skin between your fingers. These passes help hold the knuckle wrap in place; you are not trying to tie your fingers together.
Open and close your hand after each pass. If a thick lump forms in your palm, spread the fabric out again. You still need to be able to close your hand comfortably around the grip bar of your glove. Hiding an awkward fold under three more layers will not help.
The photo shows an intermediate stage of the wrap. Use the text for the full route and the photo to check how the fabric lies on your hand. If you do not have enough length for each pass, check how much fabric you used in the first two steps.
Step 4: connect your hand and wrist with a crisscross wrap
Wrap around your wrist again, then guide the handwrap diagonally across the back of your hand to the gap between your thumb and index finger. Bring it back to your wrist. Repeating this route creates a crisscross connection between your hand and wrist.
What matters here is the route, not a perfect X that looks the same on every hand. Let the strips of fabric lie flat over one another. Do not pull one diagonal strip extra tight to compensate for a loose area elsewhere: that creates pressure in one spot instead of an even wrap.
Check your palm too. Fabric can run across it, but there should not be a thick bunch of material where you close your fist. The photo shows this stage of wrapping from the palm side, so you can check more than just the back of your hand.
Step 5: finish wrapping the thumb and fasten the closure
If you have enough length left, wrap it gently around the base of your thumb and return to your wrist. Keep your thumb relaxed. Do not use the handwrap to pull it outward or tightly against your hand.
Wrap the remaining length around your wrist and fasten the hook-and-loop closure flat. It should attach to the fabric intended for it, with no loose end that folds over inside your glove. Do not twist the handwrap into a narrow cord just to use up the last few centimeters.
If you reach the hook-and-loop closure far too soon, redistribute the earlier wraps. If you have a lot left over, check whether a thinner or shorter version fits your hand better. The final wrap finishes a good foundation; it cannot fix everything that went wrong before it.
The fit check: four checks before you start punching
A neat photo looks good, but your hand needs to be able to move in the wrap. Run through these four checks before you start on the punching bag or pads.
- Open and close your hand. Slowly make a fist, then straighten your fingers again. There should be no sharp pressure points, fingers being pulled upward, or fabric digging in between your fingers.
- Check the knuckle area. The layers should lie flat and stay over the intended area when you make a fist. If the wrap is loose and shifts immediately, rewrap it.
- Check your thumb and wrist. The loop and thumb wrap should not pull. The tension around your wrist should feel even, with no narrow, constricting edge.
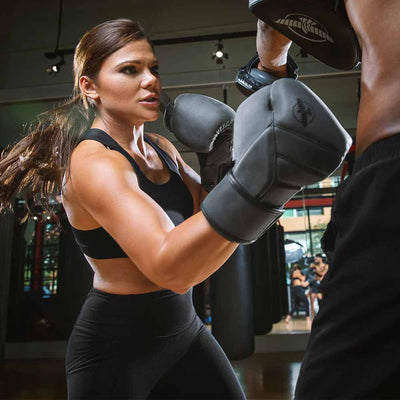
- Put on your boxing glove. With both the handwrap and glove on, check that you can comfortably close your hand around the grip. What matters is how they fit together, not just how the handwrap fits.
If a handwrap only becomes comfortable after you pull it loose under tension, it was not wrapped properly. It is better to wrap it again. If you experience tingling, numbness, discoloration or pain, stop and loosen the wrap. If symptoms persist after you remove the handwrap, or return when you strike, have them assessed by a medical professional.
Common mistakes when putting on handwraps
Fabric digging in, layers slipping or a glove that suddenly feels tight: you can usually tell quickly where the wrap needs adjusting. Use the overview below to find the cause and redo the relevant step.
Why wear handwraps under your boxing gloves?
Handwraps let you adjust the wrap to fit your hand. You distribute the fabric over your wrist, hand and knuckles, choosing where you want extra layers. A thin, flat wrap feels different from a thicker one. That adjustability is what makes regular handwraps so practical for boxing and kickboxing.
The fabric also forms a washable layer that absorbs some of your sweat. After training, let both the handwraps and your gloves air out. This lets you care for each separately and start your next session with a fresh, dry combination.
What length and material work for you?
Choose an amount of fabric you can comfortably distribute around your hand. 450 cm is a practical starting point for a full training wrap. Consider the material and your gloves when choosing.
Room in your gloves
Thinner material creates a slimmer wrap than thicker woven fabric. This also matters if you add a separate knuckle pad. The ounce rating does not tell you exactly how roomy the hand compartment is; check the fit with your own hand.
Stretch and tension
A little stretch helps the handwrap follow the shape of your hand. Use that stretch to get an even fit without pulling the fabric to its limit. The wrap should still feel comfortable when you make a fist.
Hand size and fabric thickness
Hand circumference, fabric thickness and wrapping pattern together determine what length feels comfortable. A small hand does not automatically call for one fixed size. Compare the complete wrap rather than just the length on the packaging. These three models show the material differences in concrete terms.
Rival Mexican Stretch: thin and slightly stretchy
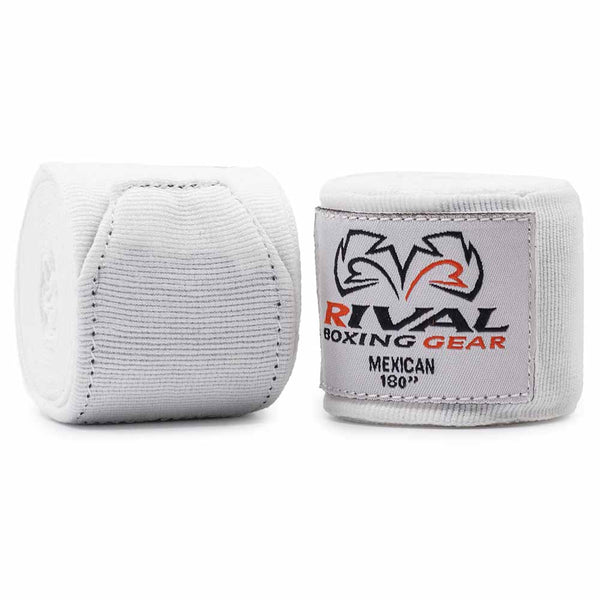
The cotton-nylon blend of the Rival Mexican Stretch is thin and has a slight stretch. It's a practical choice if you prefer a slim wrap or need room for extra knuckle padding. The model comes in 380, 450 and 530 cm lengths, so you can choose a length to suit your hand and wrapping pattern.
Fight2Win V2: 450 cm with a generous fastening area
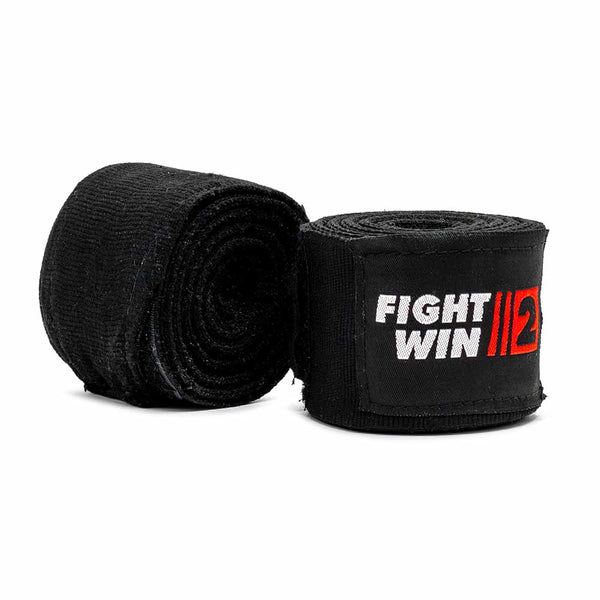
The Fight2Win V2 combines a 450 cm polyester-cotton blend with a thumb loop and an extended hook-and-loop panel. This gives you enough length for the full wrapping pattern and a generous fastening area to secure the final turn neatly. Worth considering if you want a flexible handwrap with a straightforward, practical fastening.
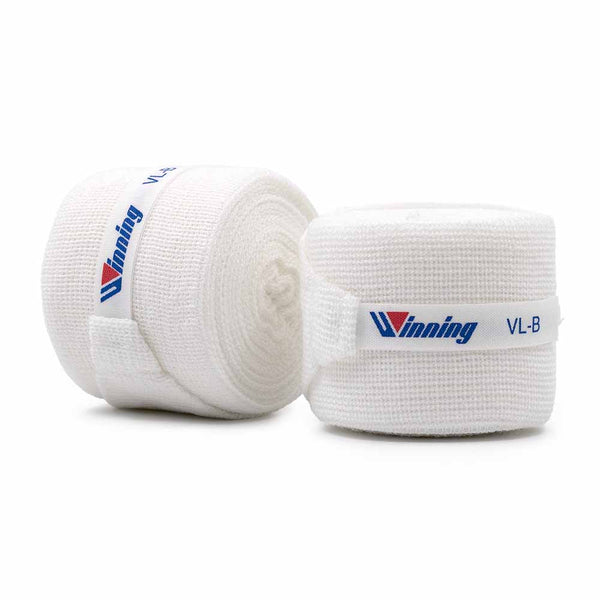
Winning VL-B: soft, stretchy rayon
The Winning VL-B Extension Type is the stretchy version made from 100% rayon. This model is worth considering if you're looking for a soft fabric that stretches easily. Use that stretch to get a neat fit and, as with the other models, check that you can comfortably close your fist inside the glove.
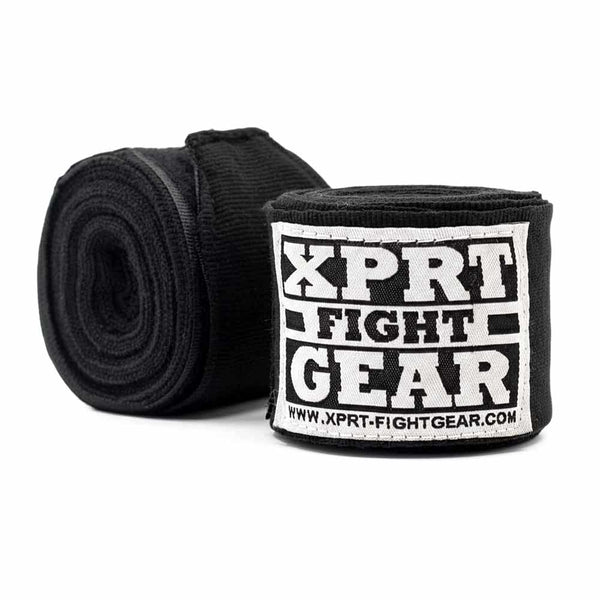
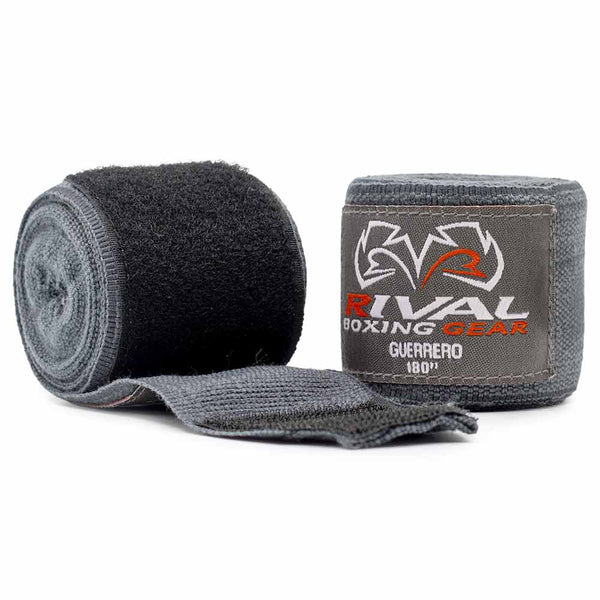
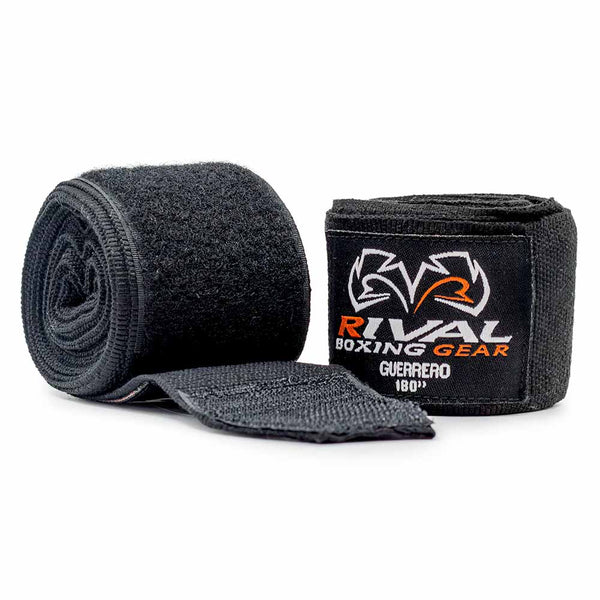
The brief overview also includes Rival Guerrero and XPRT Easy Stretch. This lets you compare a thin, lightweight version with a thicker material, without making the wrapping technique itself more complicated.
Extra padding: what changes with a knuckle guard?
A knuckle guard adds a targeted pad over your knuckles. This gives you a separate layer of padding to build into your hand wrap. You don't have to create the knuckle pad solely from extra turns of handwrap fabric.
Include the pad from the start and follow the model's placement instructions. Keep everything flat, distribute the handwrap evenly and check with your hand both open and closed that the pad stays in place. The three versions below show the differences in materials and construction. You'll find a detailed comparison in the separate knuckle guard article.
What does research say about handwraps and extra padding?
A comfortable hand wrap depends on the combination of fabric, knuckle padding and room inside the glove. So don't look at just one component; consider how the whole setup fits around your hand.
Handwraps, inner gloves or gel wraps?
A regular handwrap gives you plenty of freedom to distribute the fabric around your hand and wrist. A fabric inner glove is quick to put on and can provide a comfortable, washable layer underneath. A gel wrap usually combines a slip-on design with padding and, depending on the version, a wraparound wrist strap.
These are different designs, not an automatic ranking from good to bad. Look at what a specific model offers: does it have a wrist strap, how thick is the padding, and can you close your hand comfortably with everything on? The word 'gel' or 'inner glove' alone won't tell you that.
If putting them on and changing them quickly matters to you, pull-on models are a sensible product category to compare. If you prefer to decide for yourself how to wrap your knuckles, hand and wrist, regular handwraps give you that option. For a full breakdown of the differences, follow the related articles to the separate comparison.
Use a video to understand the wrapping path
A photo shows where the fabric sits; a video helps you follow how to get it there. Use the two guides below alongside the photo steps. They make it easier to follow the transition from wrist to back of hand and the passes between your fingers.
Practice one method at a time. Pause the video, follow the wrapping path slowly and check the fit before continuing. The order and knuckle coverage may differ between methods.
After training: unwrap, wash and roll up again
A few minutes of care will make wrapping your hands much more comfortable at your next training session. Unroll your handwraps after training, remove any loose pads and let each part air out separately. Always follow the washing instructions for the specific model.
Let everything dry completely, then roll the handwraps up flat. Check the thumb loop, fabric edges and fastening at the same time. The care section below will help you keep up this simple routine.
Good wrapping means wrapping consistently
You don't need to memorize a complicated pattern to get started. Follow a set order, lay each layer flat and check as you wrap that you can still close your hand comfortably. The five photos show these steps; then assess the result while wearing your own gloves.
First, choose a handwrap that fits your hand and glove, learn a steady, repeatable way to wrap it, then fine-tune how you distribute it. That will help you understand why you might want to buy a thinner handwrap, a thicker material or extra knuckle padding. This way, you can put together a complete hand wrap that suits your preferences and equipment.


))

))

))